
There are many ways to achieve a desired result when working with steel. I think that most modern people are used to thinking of the material as a sheet and the ways we think about wood or cloth get stuck in our minds. The original shape or thickness governs the result. This is most obvious when people start and they curl metal into forms that (very roughly) fit around a body part, add some straps and call it armour. Maybe they flare an edge, or roll an edge. Maybe they add some shaped pieces from Rough from the Hammer, but the metal movement is pretty simple. Even when people move to more advanced metal work, many elements still seem to based on the same idea. Cut out a piece, dish or raise it some and you get armour. You can also add some darts and welds to speed the dishing or raising. That can work, and it can work perfectly reasonably. If you are planning to do "production" work, that is probably the best way to do things. But metal can also be thought of more like clay than cloth. You don't just bend and seam it, you really push it around to make it go where you want. It can also help to "think outside the box" - twist your mind sideways when thinking about things. Just because a part of the piece of armour sticks out from the rest doesn't mean that you need to flare it out. That might be the easiest and best thing to do, or it might be better to take the metal from another part of the piece to minimize thinning.
A greave is a nice illustration of the concept. The simple form is a curled piece of metal with edges that allow it to fit onto the shin. Then people flare the bottom a little and dish the sides some and it gets a little better. After that people start trying to copy real pieces, or the shape of the lower leg and things get interesting. The desired shape is, in no way, a flat piece of metal that is curled up. The shape you really want is a lot more complicated, and a lot more interesting. It flows with the body. It follows the form of the leg, but often attempting to improve on the basic shape - to idealize the form while still allowing the wearer to move comfortably while being protected.
I expect that there are a lot of ways that you could achieve the desired shape. I don't think any of them are inherently better or worse than the other, as long as the result is correct. All of these are really describing how to get the overall flowing shape. Each will involve a certain amount of dishing/sinking/squashing at strategic spots to get the rounded shapes at the calf and ankle bones. I omit that part of the process for convenience. To allow for discussion I have created a listing of different methods. In the real world elements can be combined and adapted as the armour sees fit. But describing them as distinct helps to understand the thought processes behind them. A quick listing of possible ways you could attack the main problem of getting something that tapers in the top half and flares in the bottom half include:
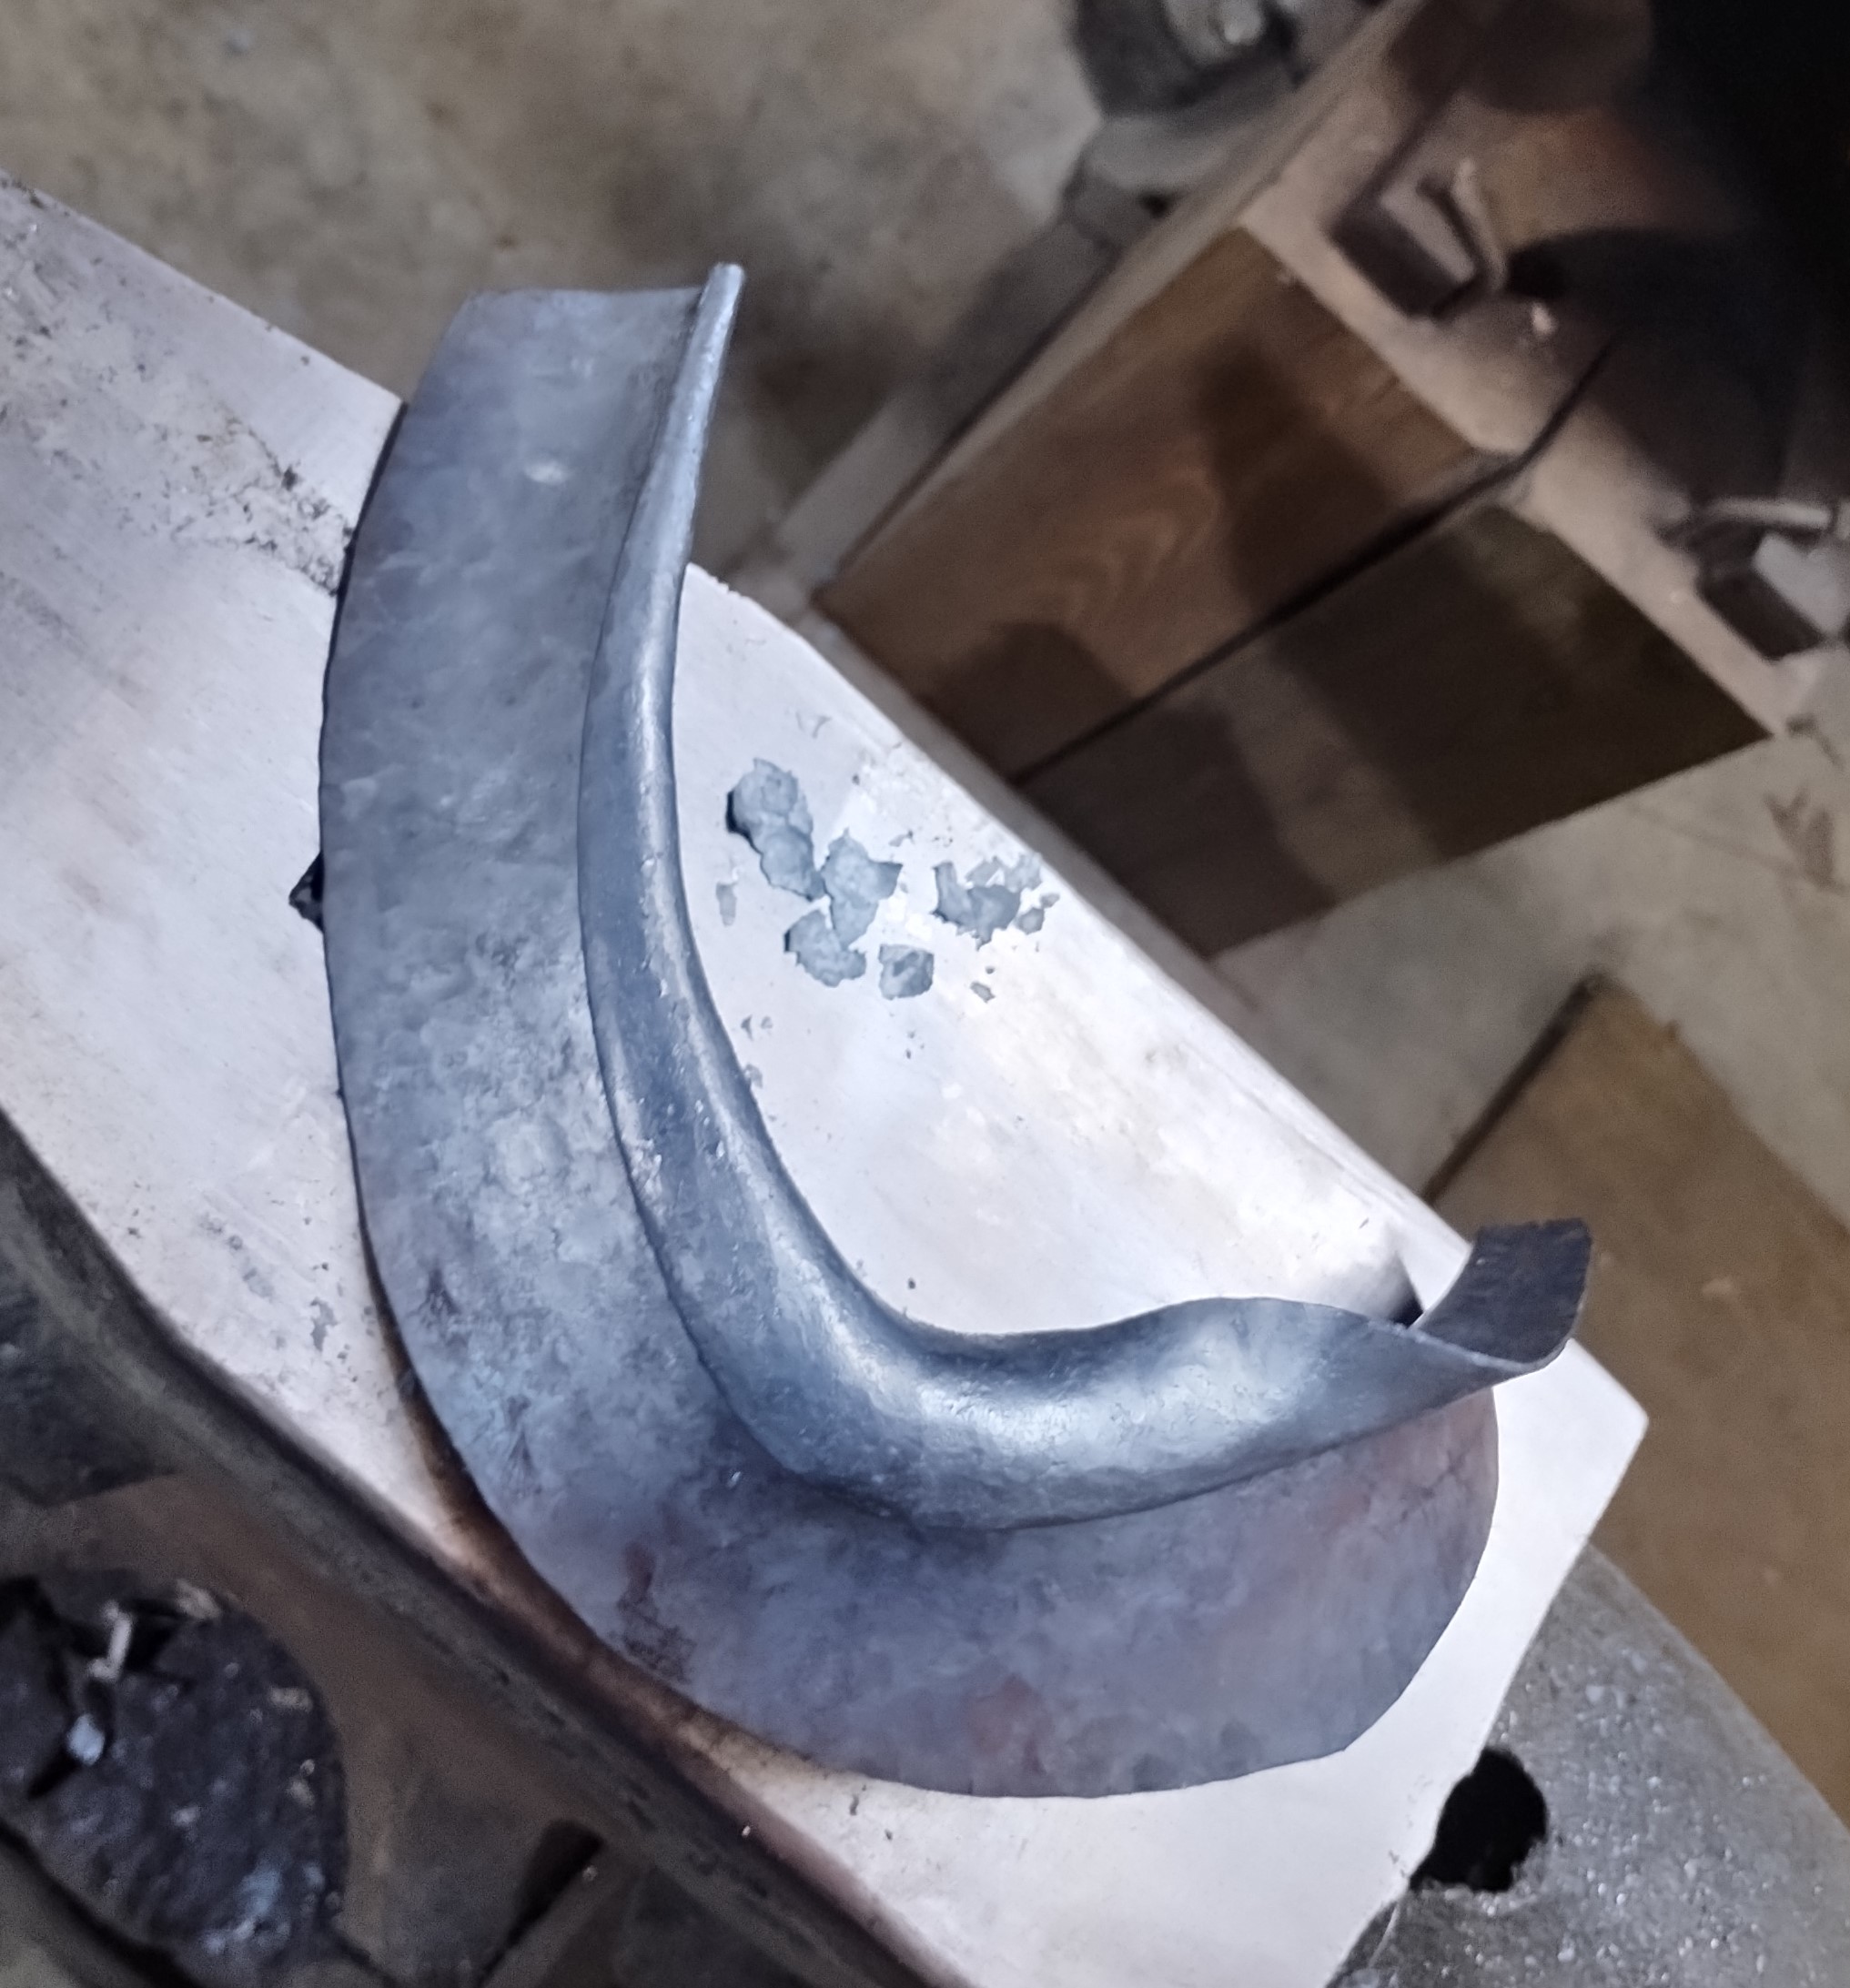
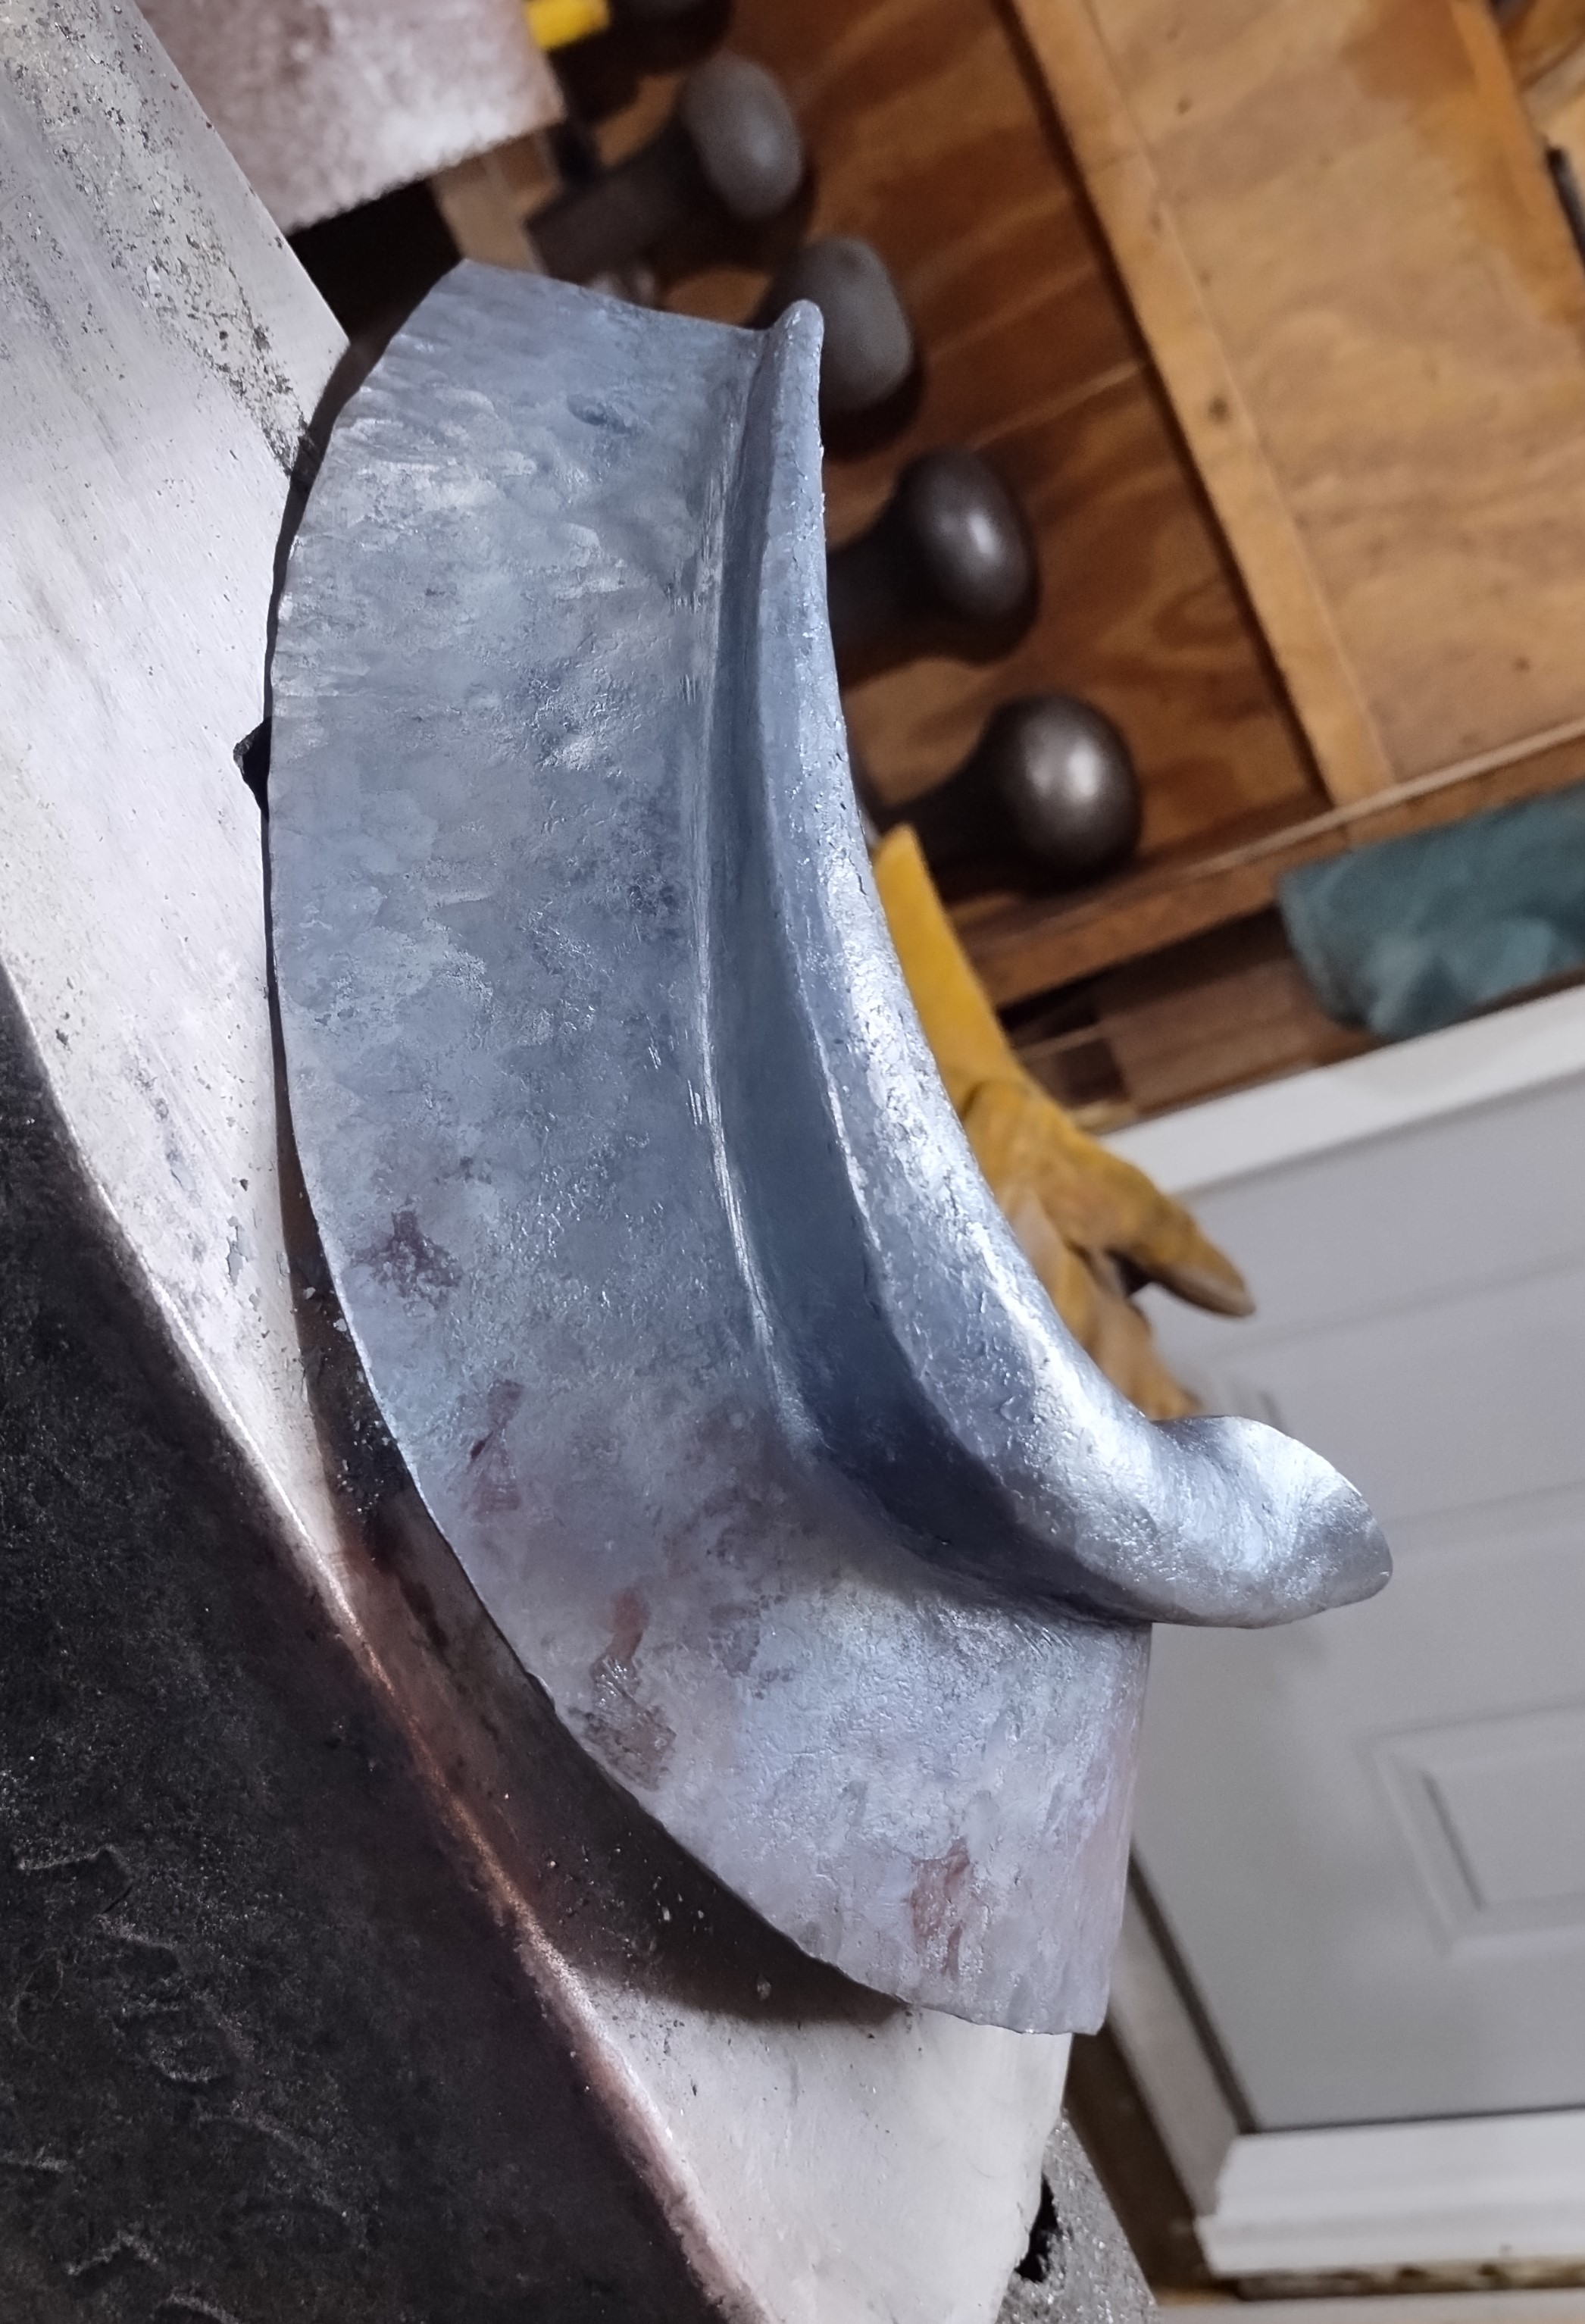
This shows a little experiment I did to see how I might use drawing instead of raising to make a greave. This was done cold from mild steel as an experiment. From my experience, annealed 1050 works similarly at this stage of processing. I am pretty sure I started with a piece of nominal 16g. This is thicker than people use for greaves, but the whole process is based on thinning, so I wanted to be sure to have enough material. Hammering and grinding and it will get thinner. I used a power hammer to start the process, but that is just because I had one. I have done the same process by hand. It took longer and I didn't lay out the pattern for intentional thinning of the top and bottom because that would just have added work. With a power hammer, this doesn't add much time and it was fun.


This is really just an illustration of a concept. We think of a piece of armour as "flared" at the bottom. Often this could also be described as "longer at the sides" - when you think about it that way, a whole new way of working opens up.
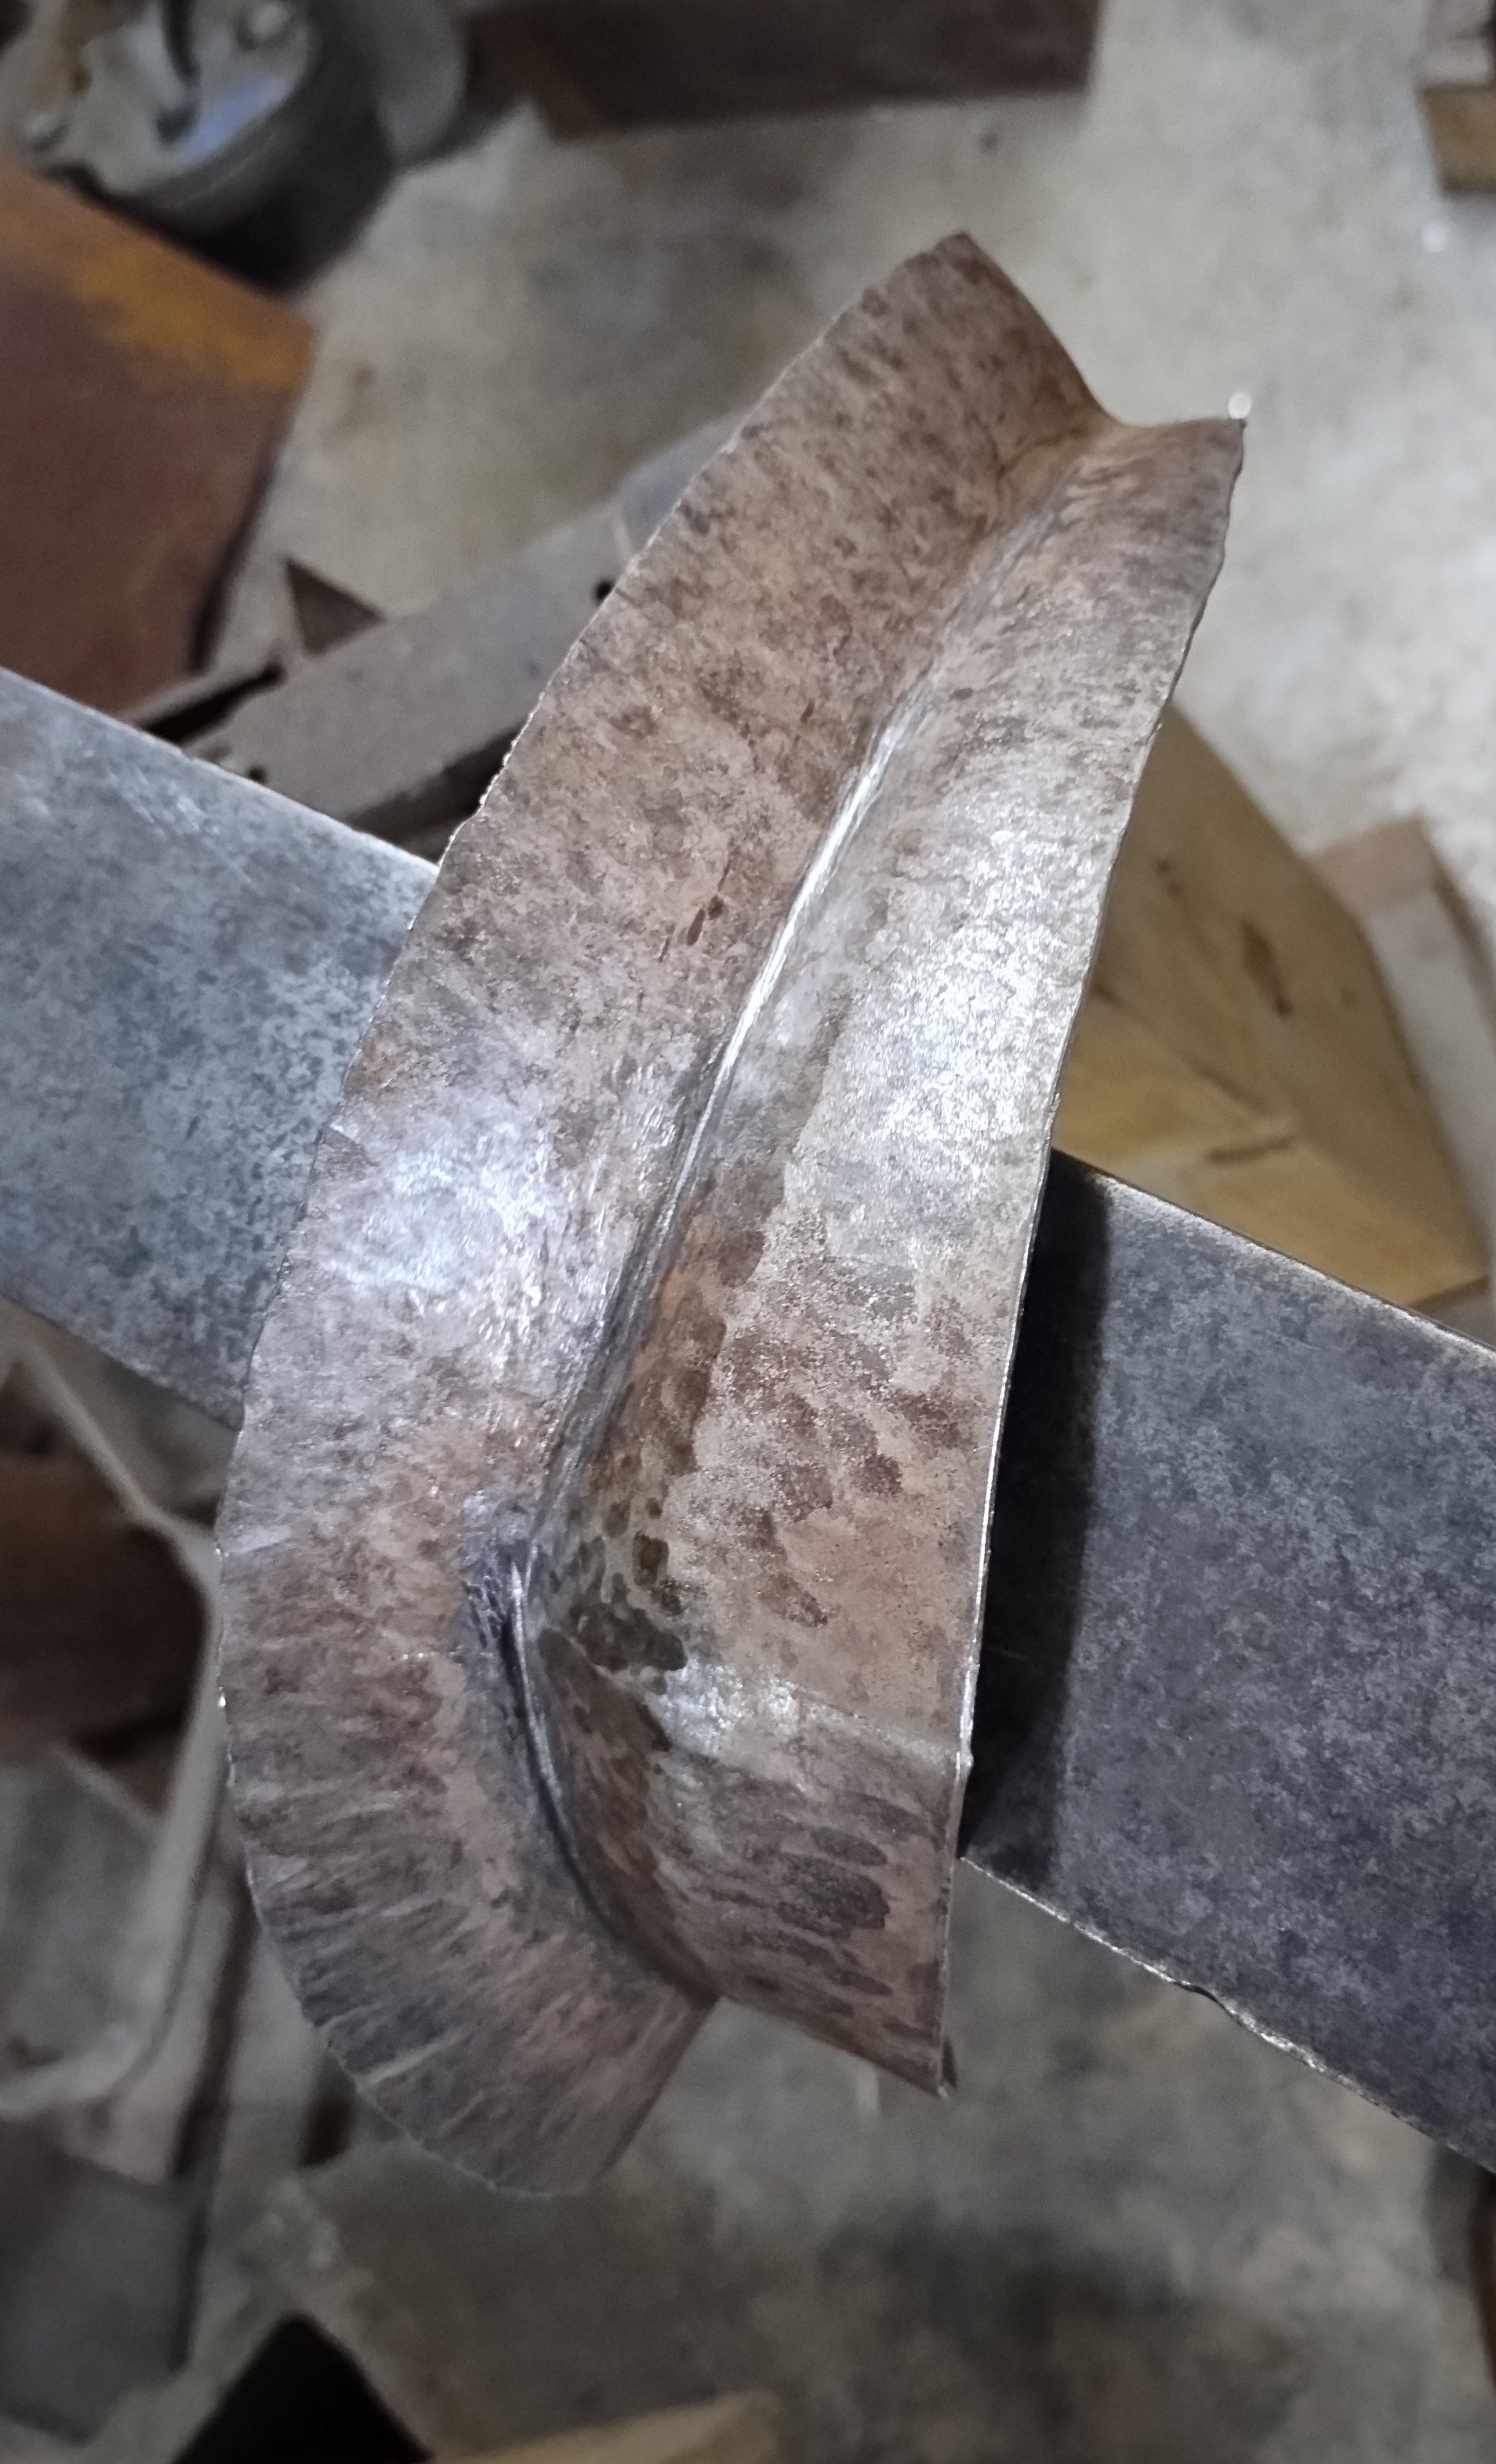
I recently made a cheek plate for a burgonet. The cheekplate is dished over the ear so that it will fit the bowl and then "flared" at the bottom to mimic the tail. I did the work by dishing the top, flaring along the front and back sides and then along the bottom a little bit. Since I hit the entire surface, the result was relatively even in thickness. This put the material in the right place to get a nice "flare" without thinning the metal along the bottom. It is just another application of the same idea. You can see the result here:
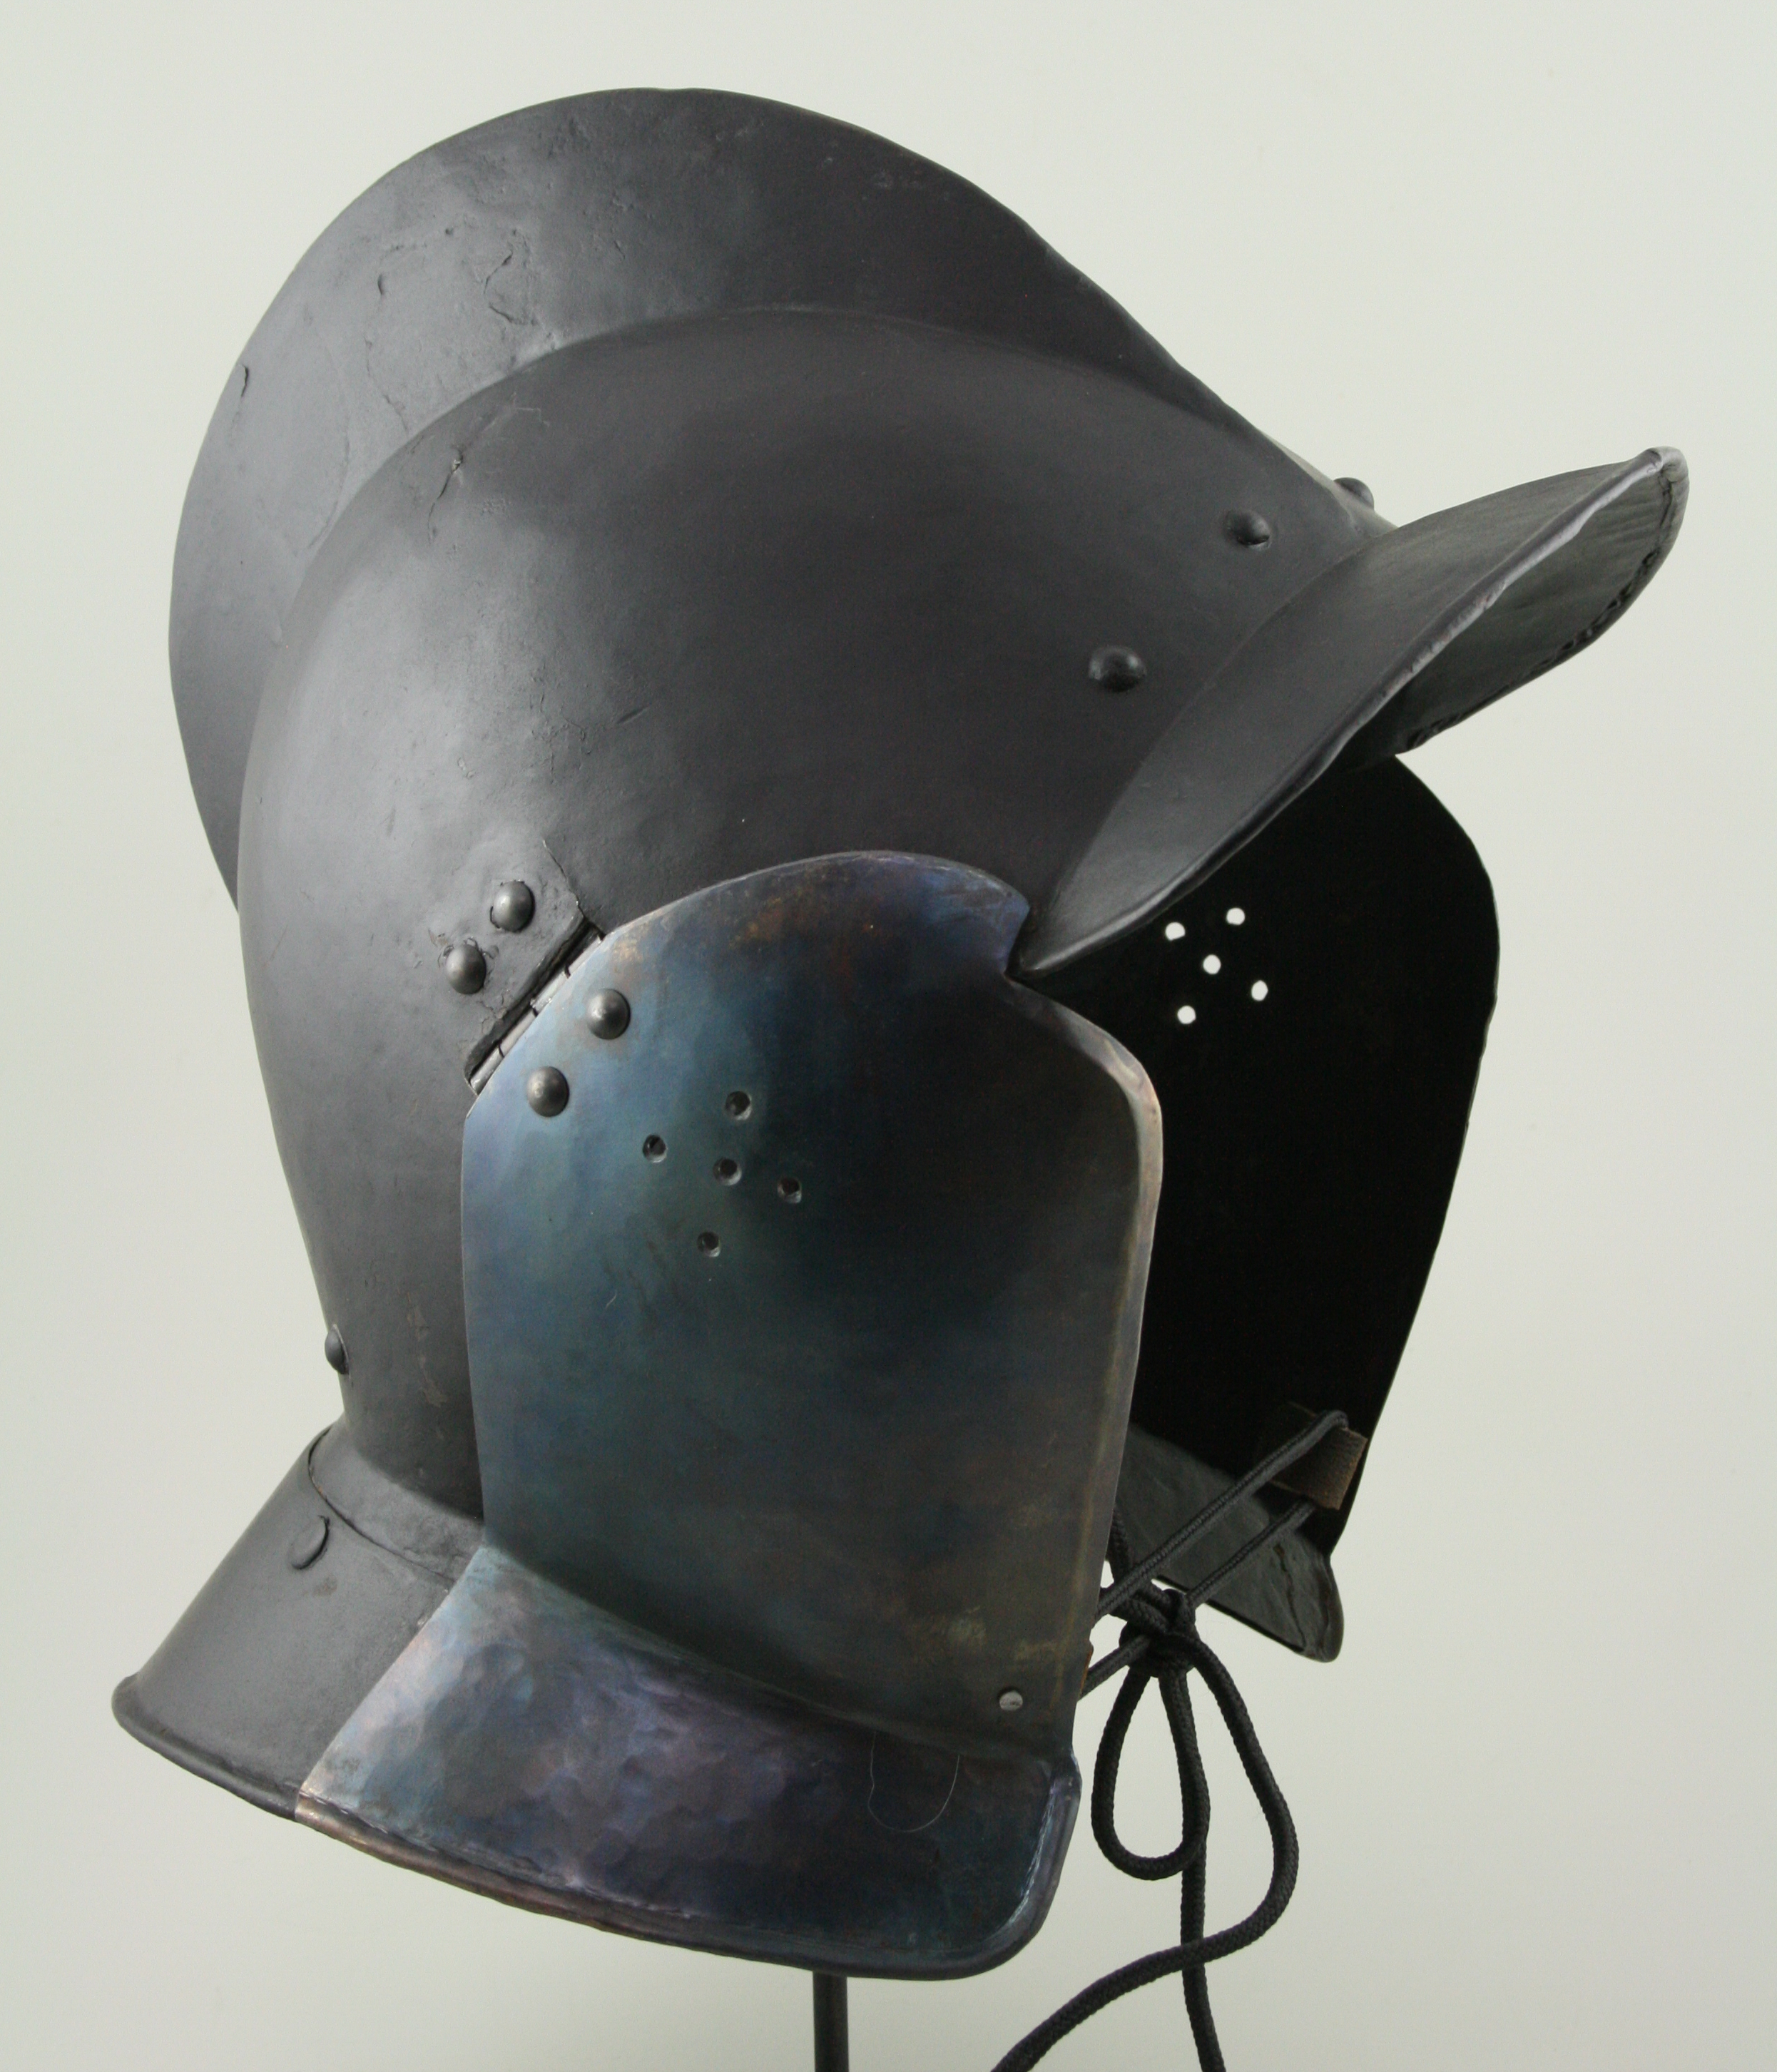 .
.
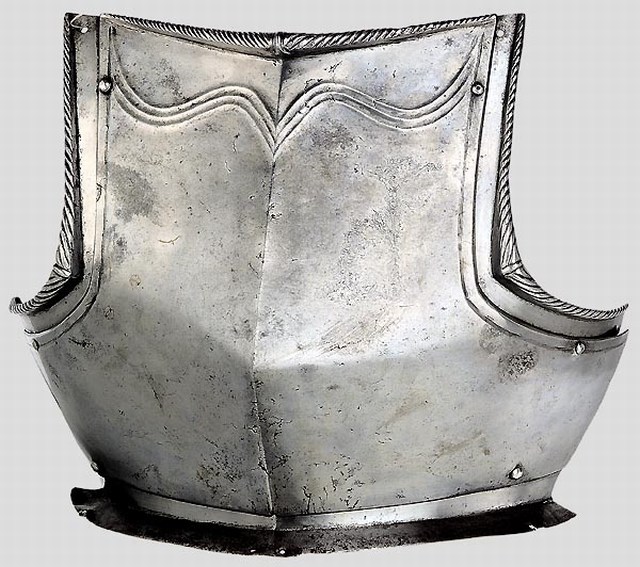
The other example I have used to illustrate "sideways" thinking is making a gusset. Specifically one of the ones with a nice big roll at the center. Like these:

From what I have seen, the typical pattern many armourers use to make one of these is a crescent. The design
parallels the edge of the breastplate and the expected roll. This can work. It is probably pretty reasonable for
a gusset with a relatively narrow parallel roll. I tranferred the shape of the gusset on the lower breastplate
to paper using slits to allow me to fit to the roll.
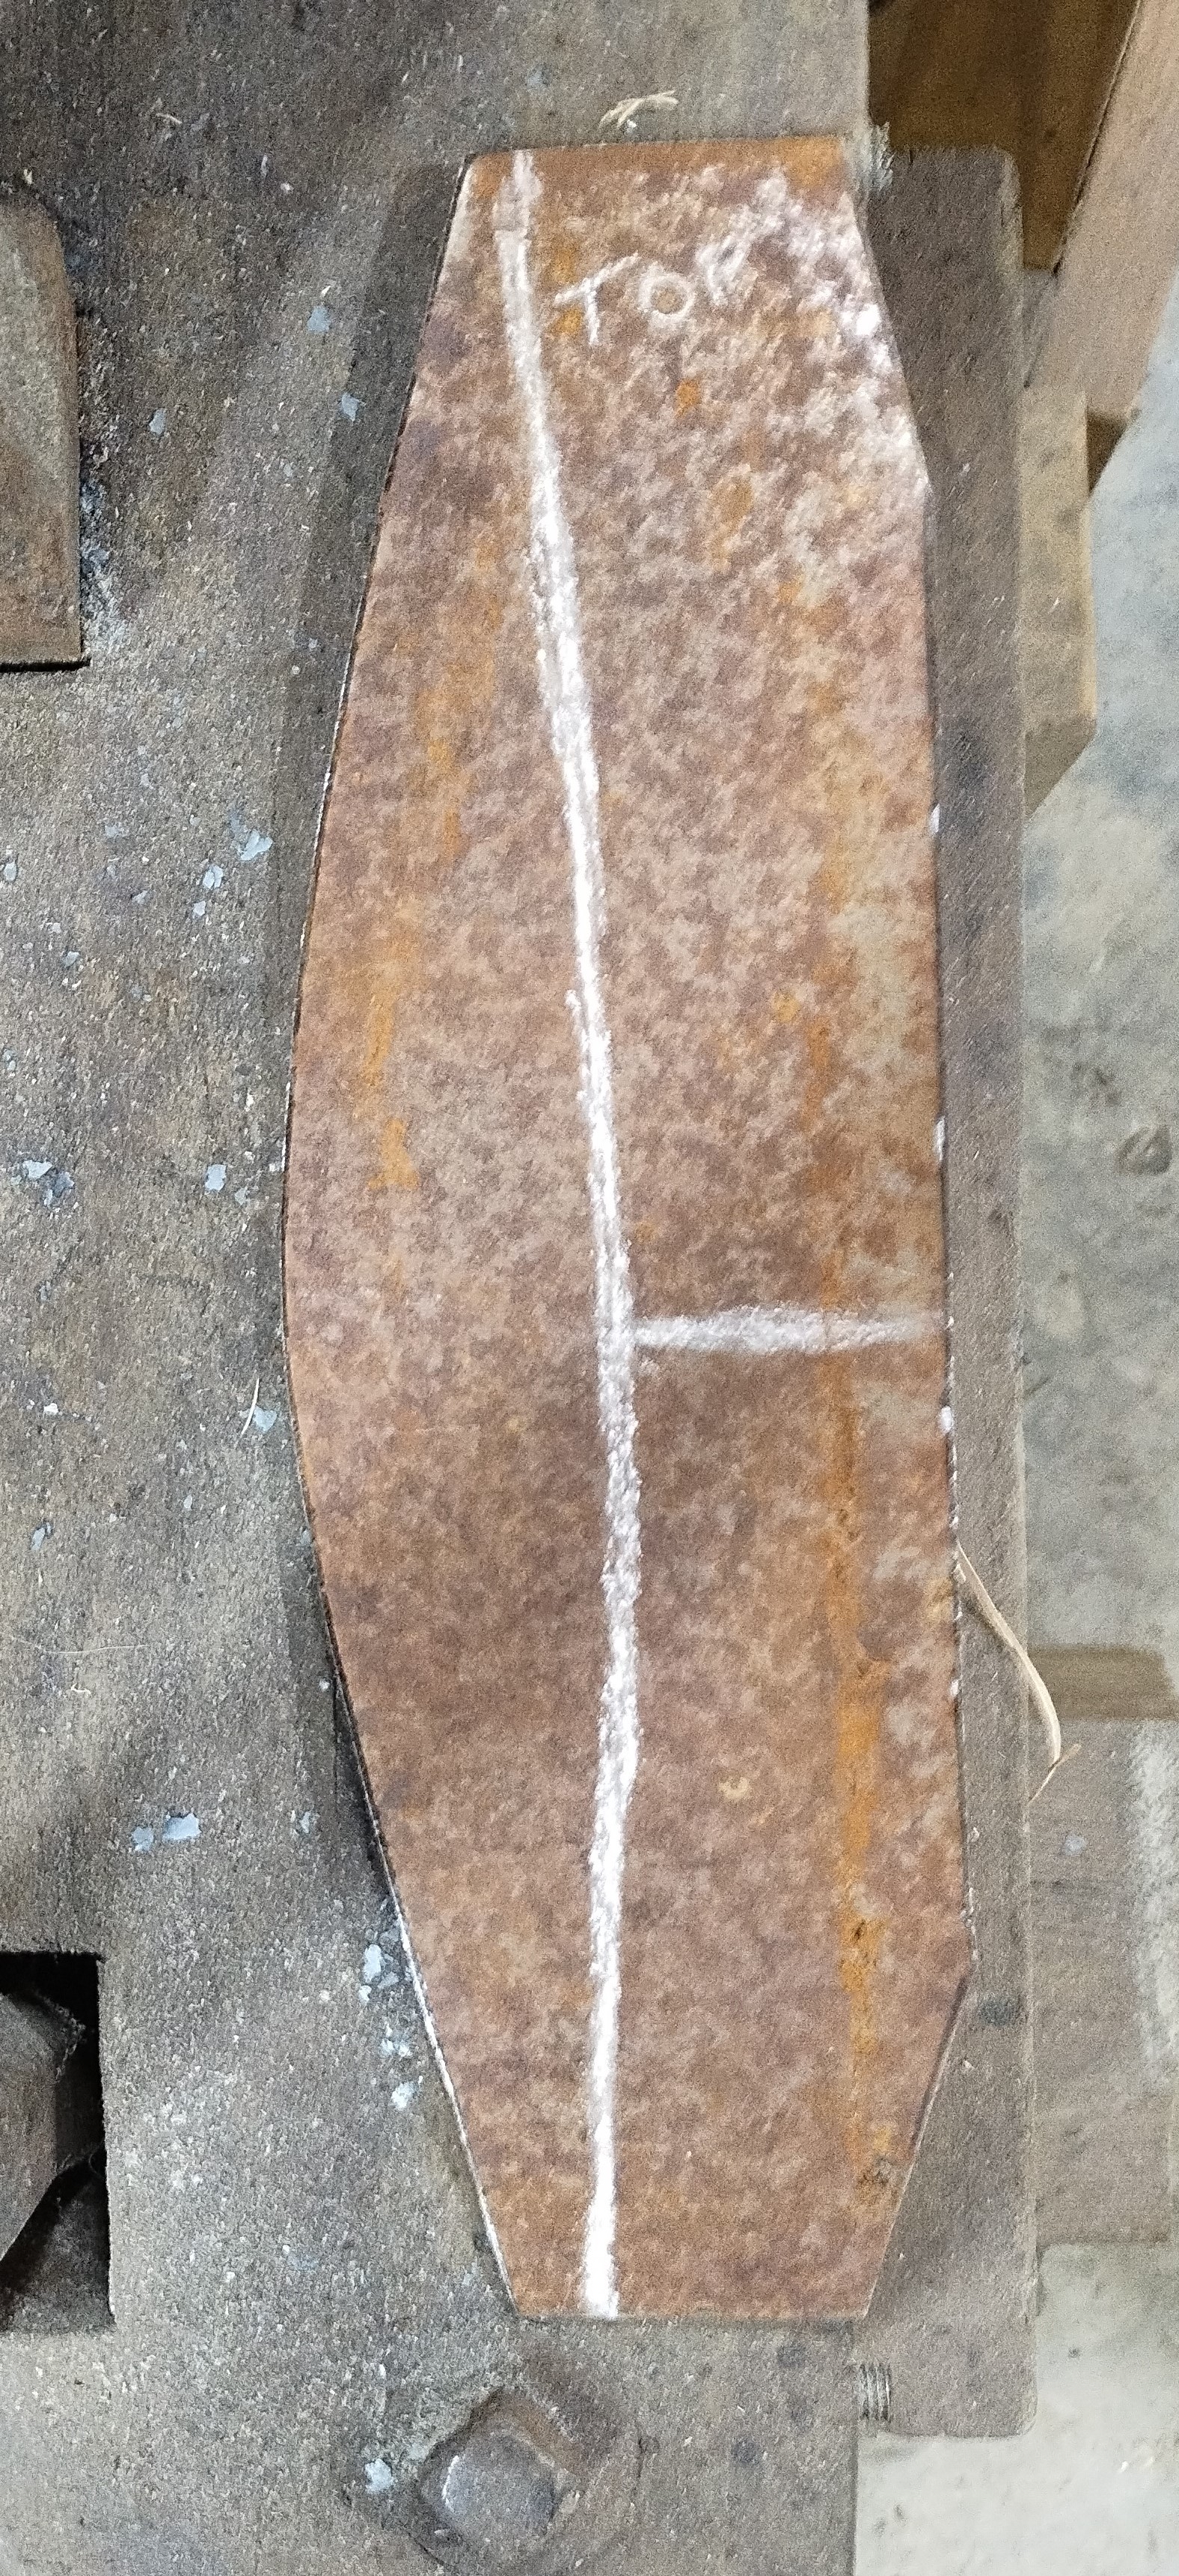
This is the resulting pattern. The marker line indicates the base of the roll.
The slots let me fit the paper around the rivets.

The problem can be attacked in a different way when
you want to make a "big" roll.
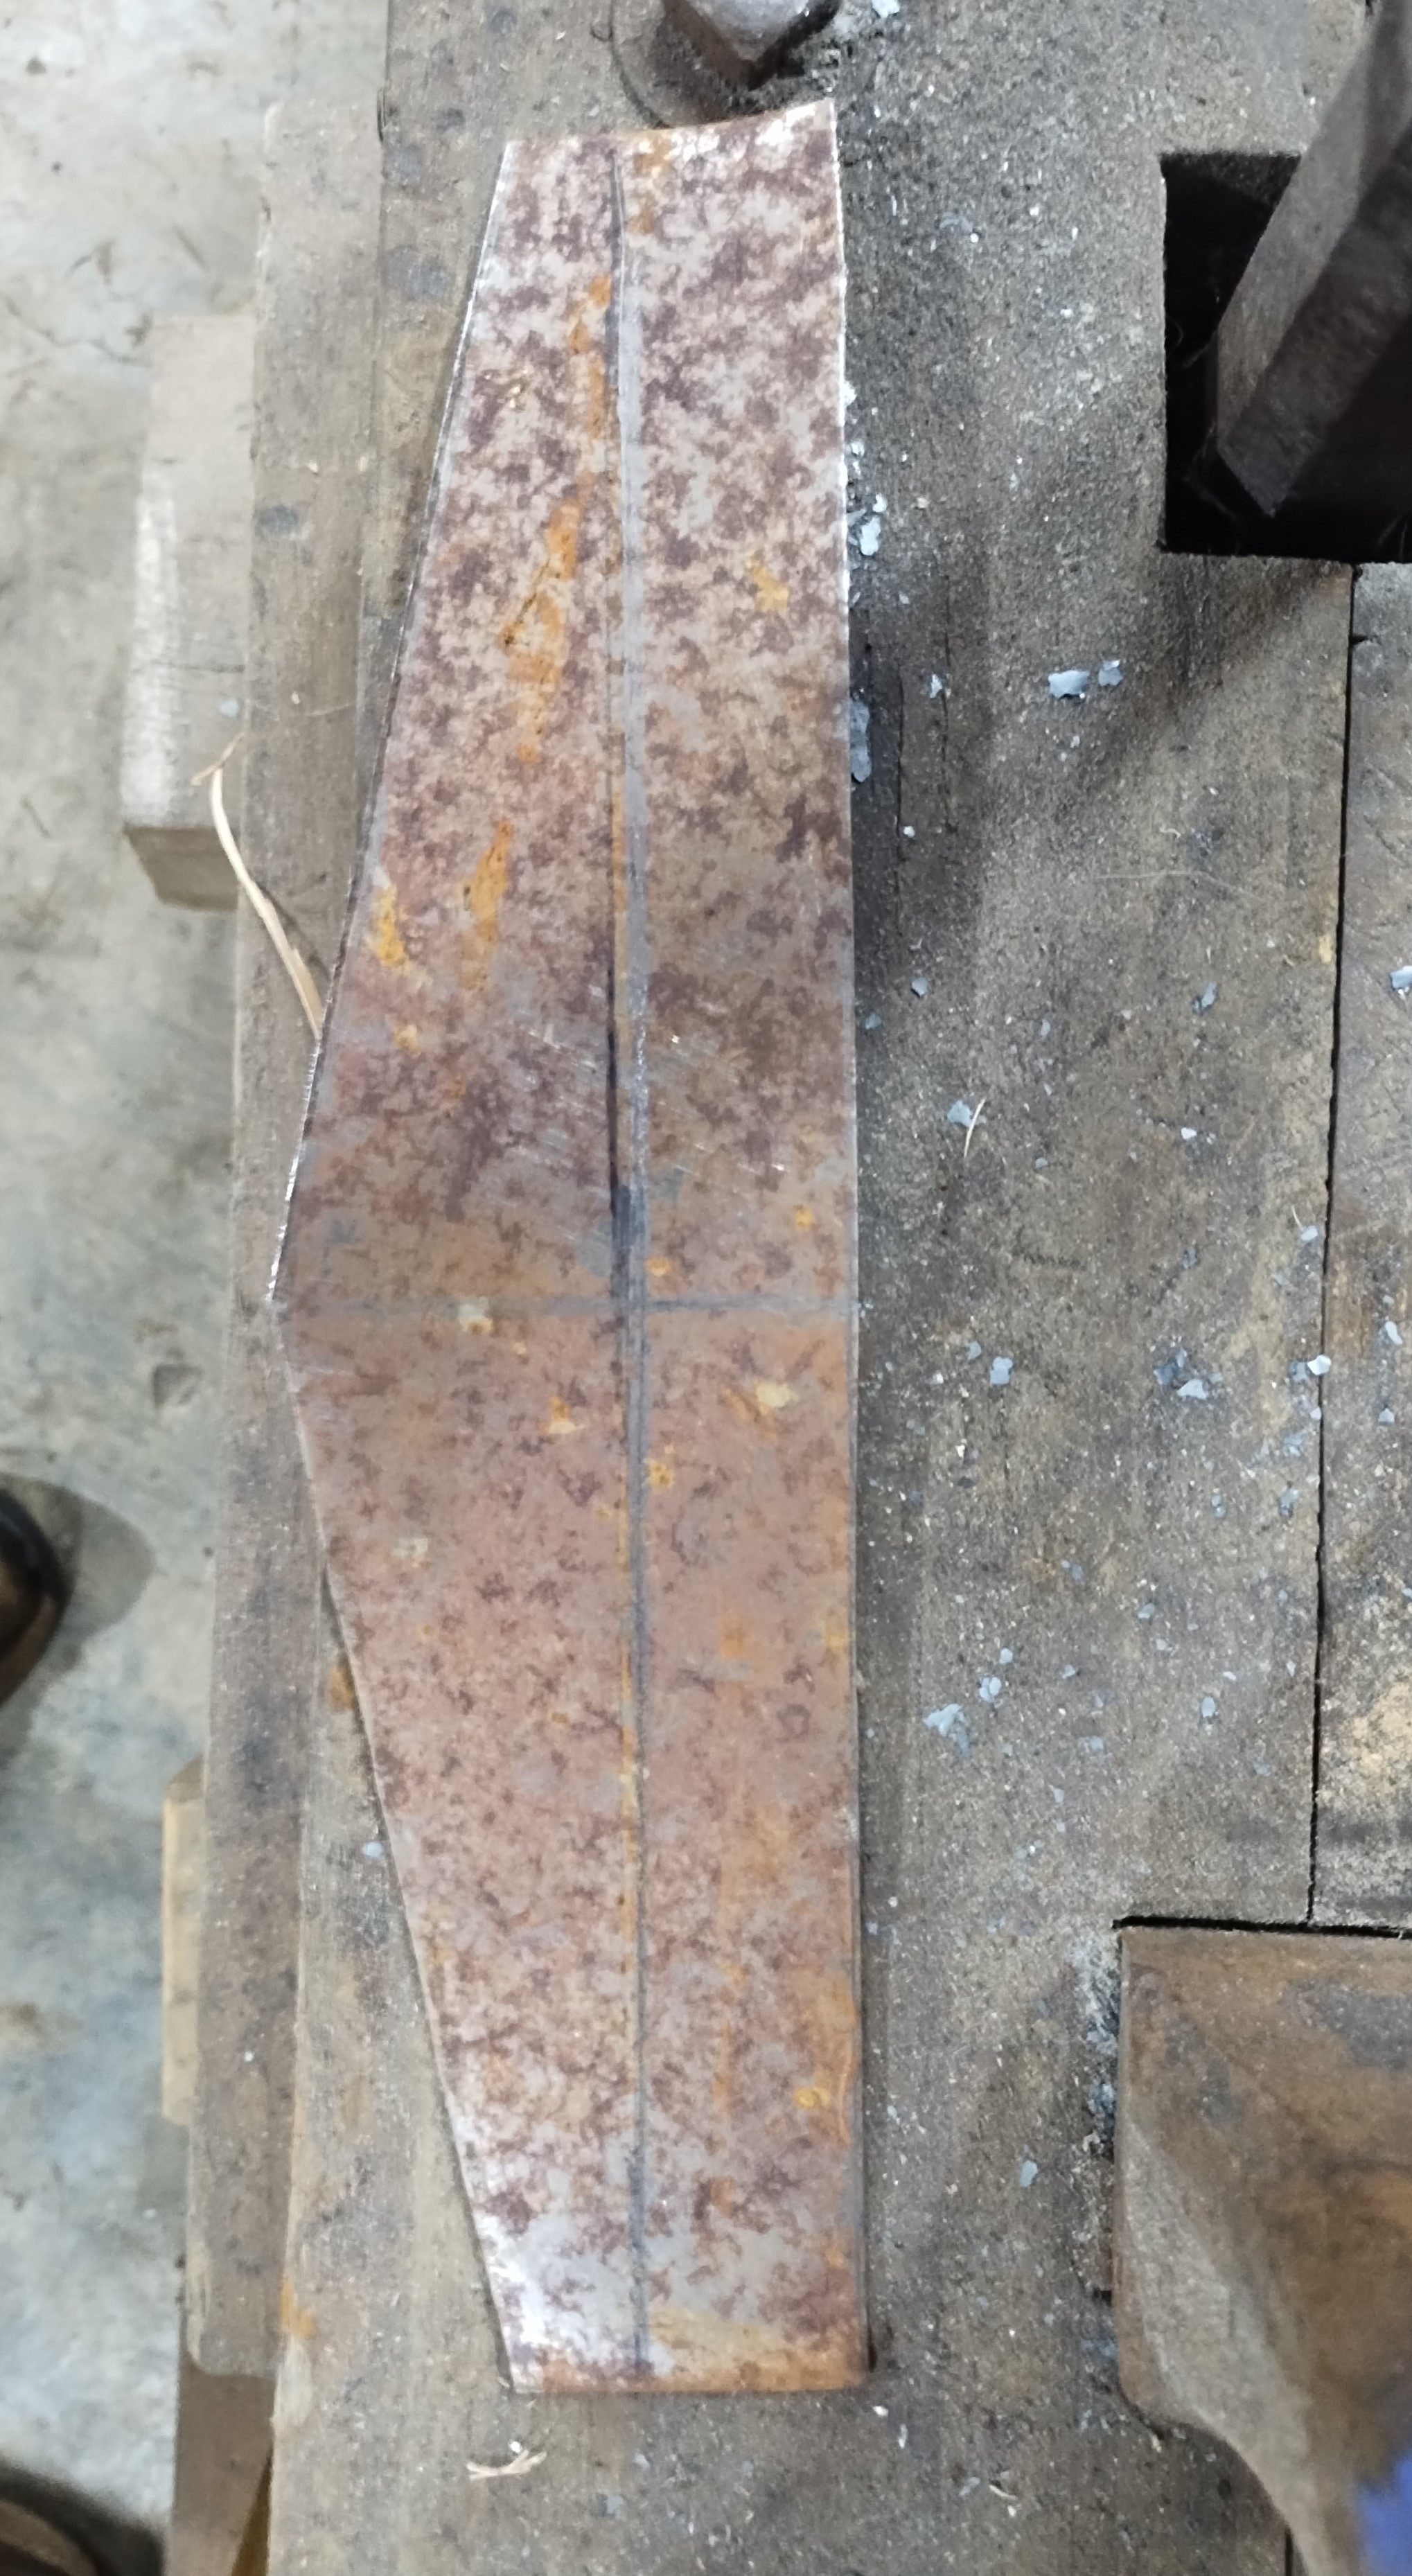
The basic pattern for these can be approximately a long, thin rectangle. If you want a really cool roll that gets huge at the center, adding some material there can help avoid trimming. Final material thickness is interesting if you do things this way. Specific techniques matter a lot, but in general you can end up with a relatively thin area underneath the breastplate (where you don't need material, and it can just get in the way of interaction with the gorget and backplate), relatively thick on the "flat" surface that extends the width of the breastplate where it isn't covered, a lot of thickness to make a solid roll (allowing it to work as a stop rib and to decorate and grind) and enough thickness to close the roll without excessive thinning.
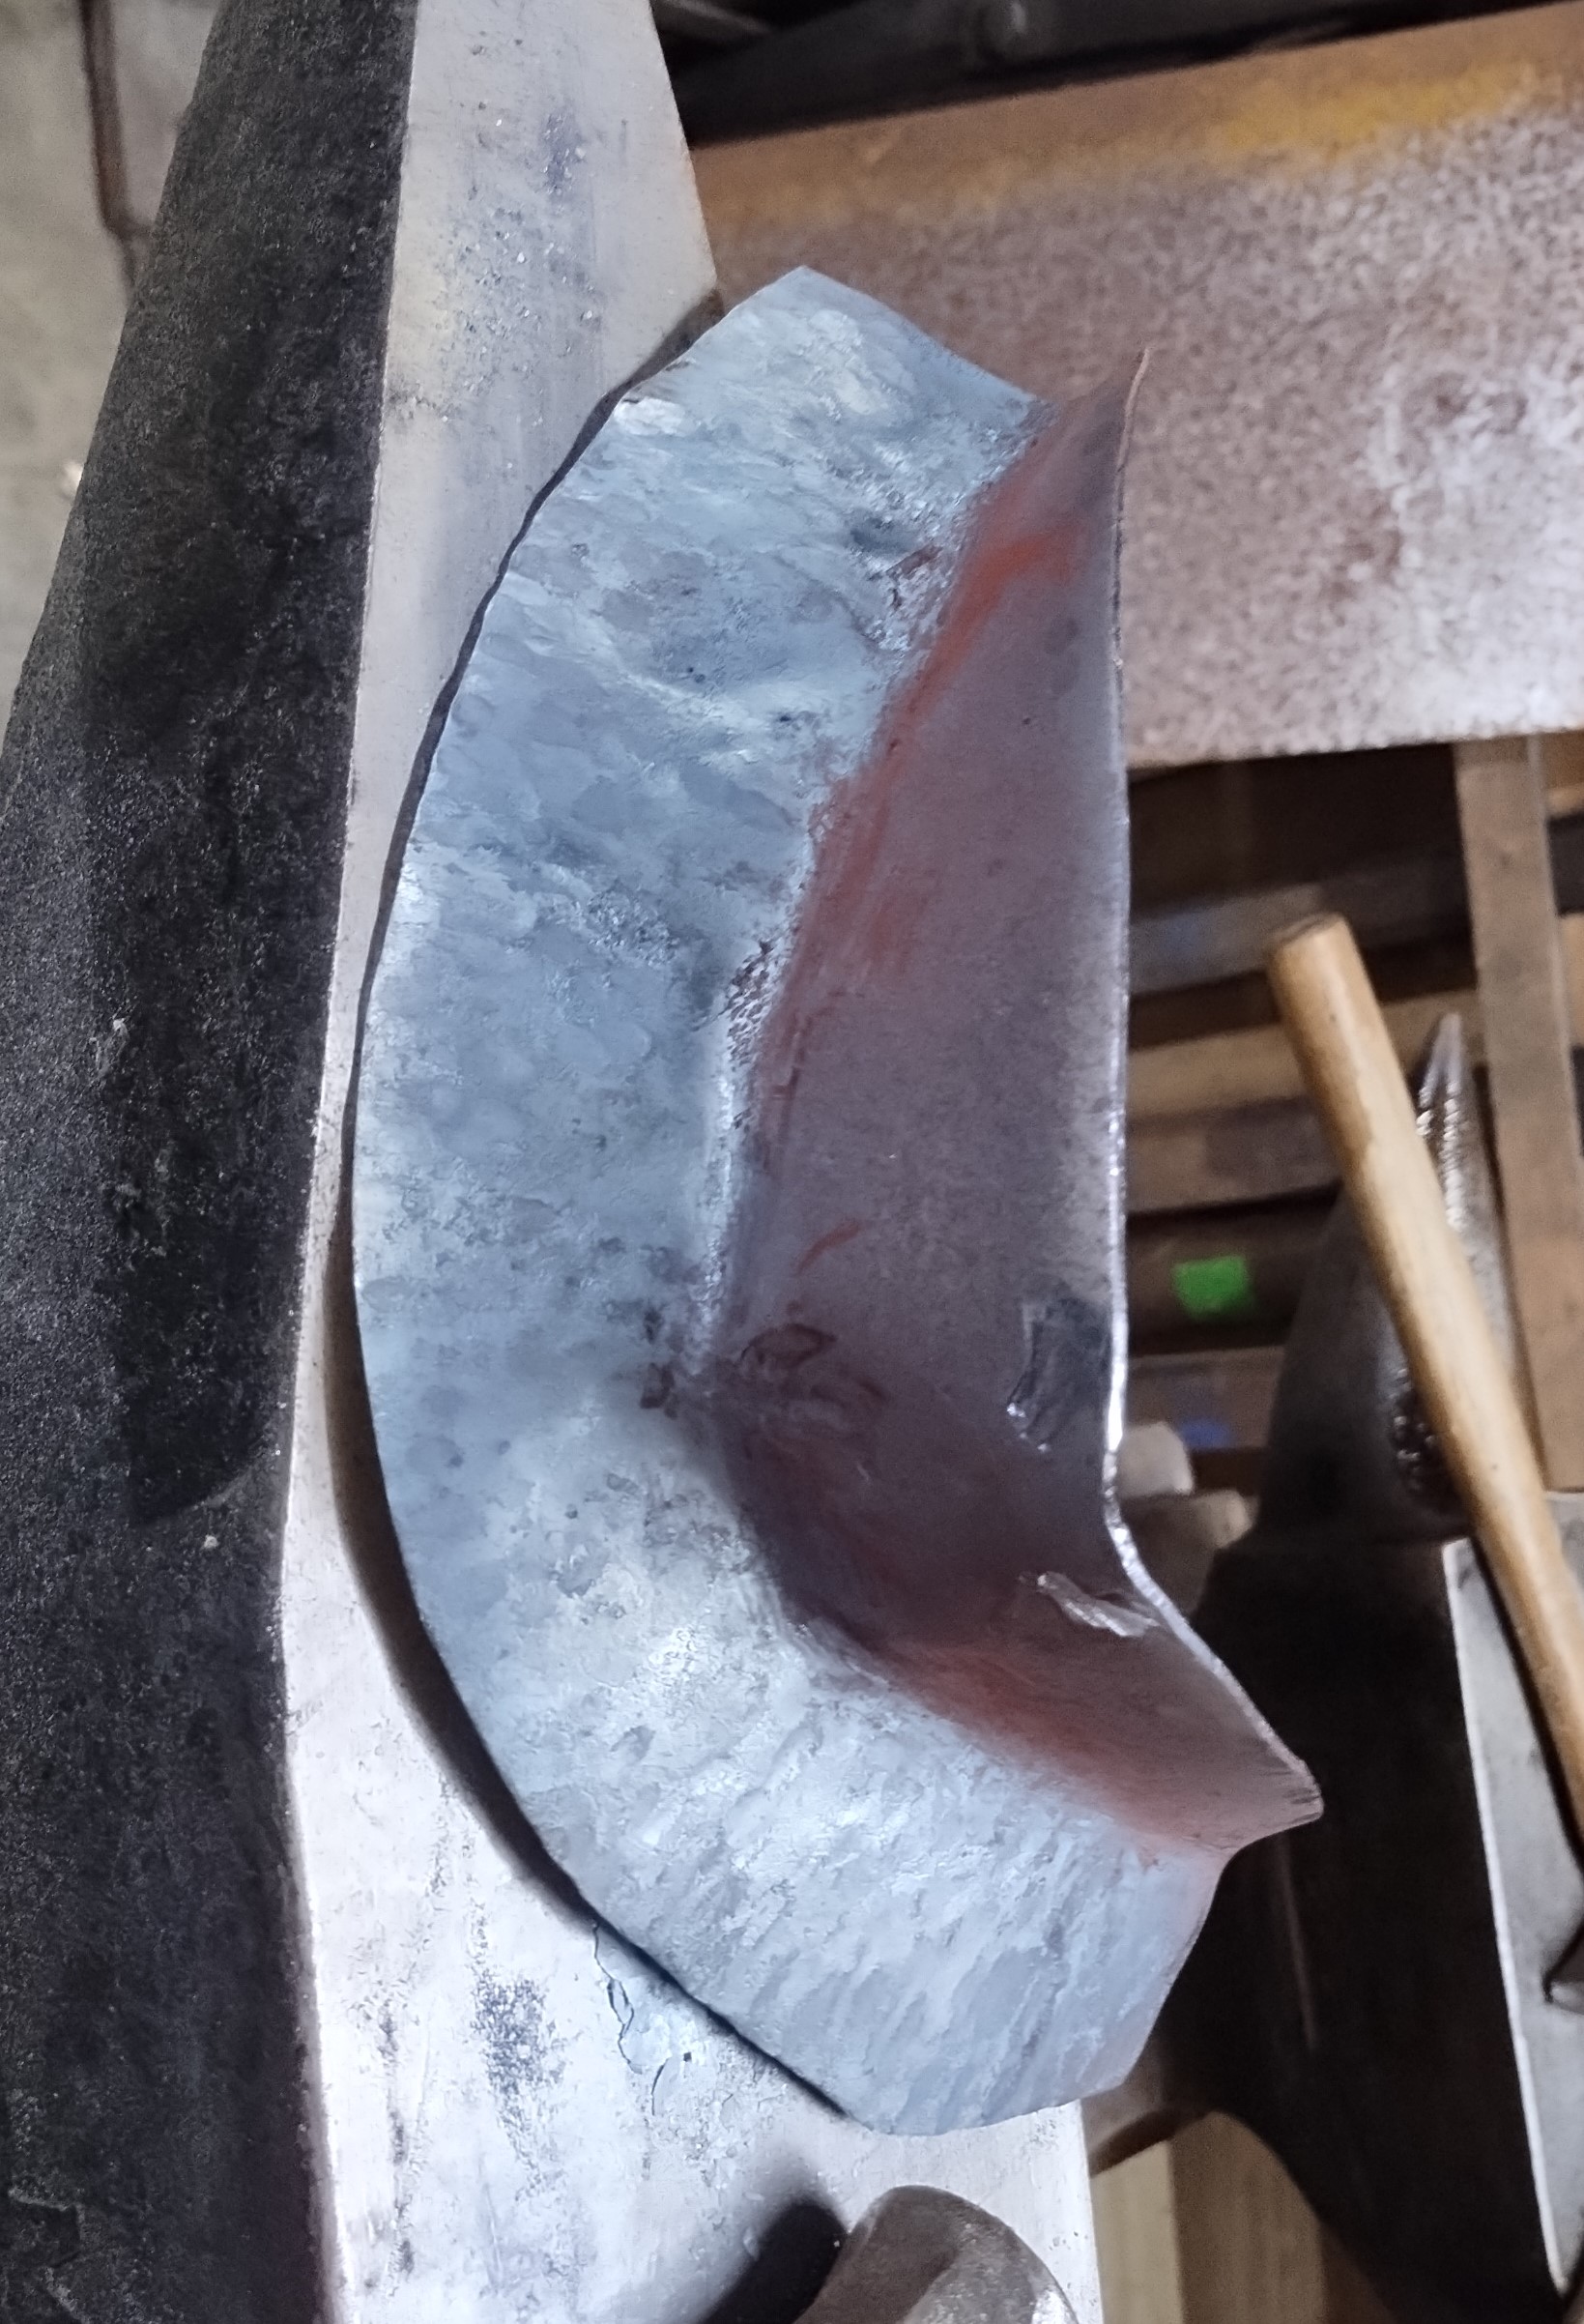
I ran a couple of experimental runs for The Forging in Texas Labor day weekend 2025. One was done hot, one cold (just to show what can be done if you are a glutton for punishment). The first one illustrated was patterned after A-61 - the pointed breastplate above. I took it this far cold. The next step is to fit it to a breastplate, then close up the roll.

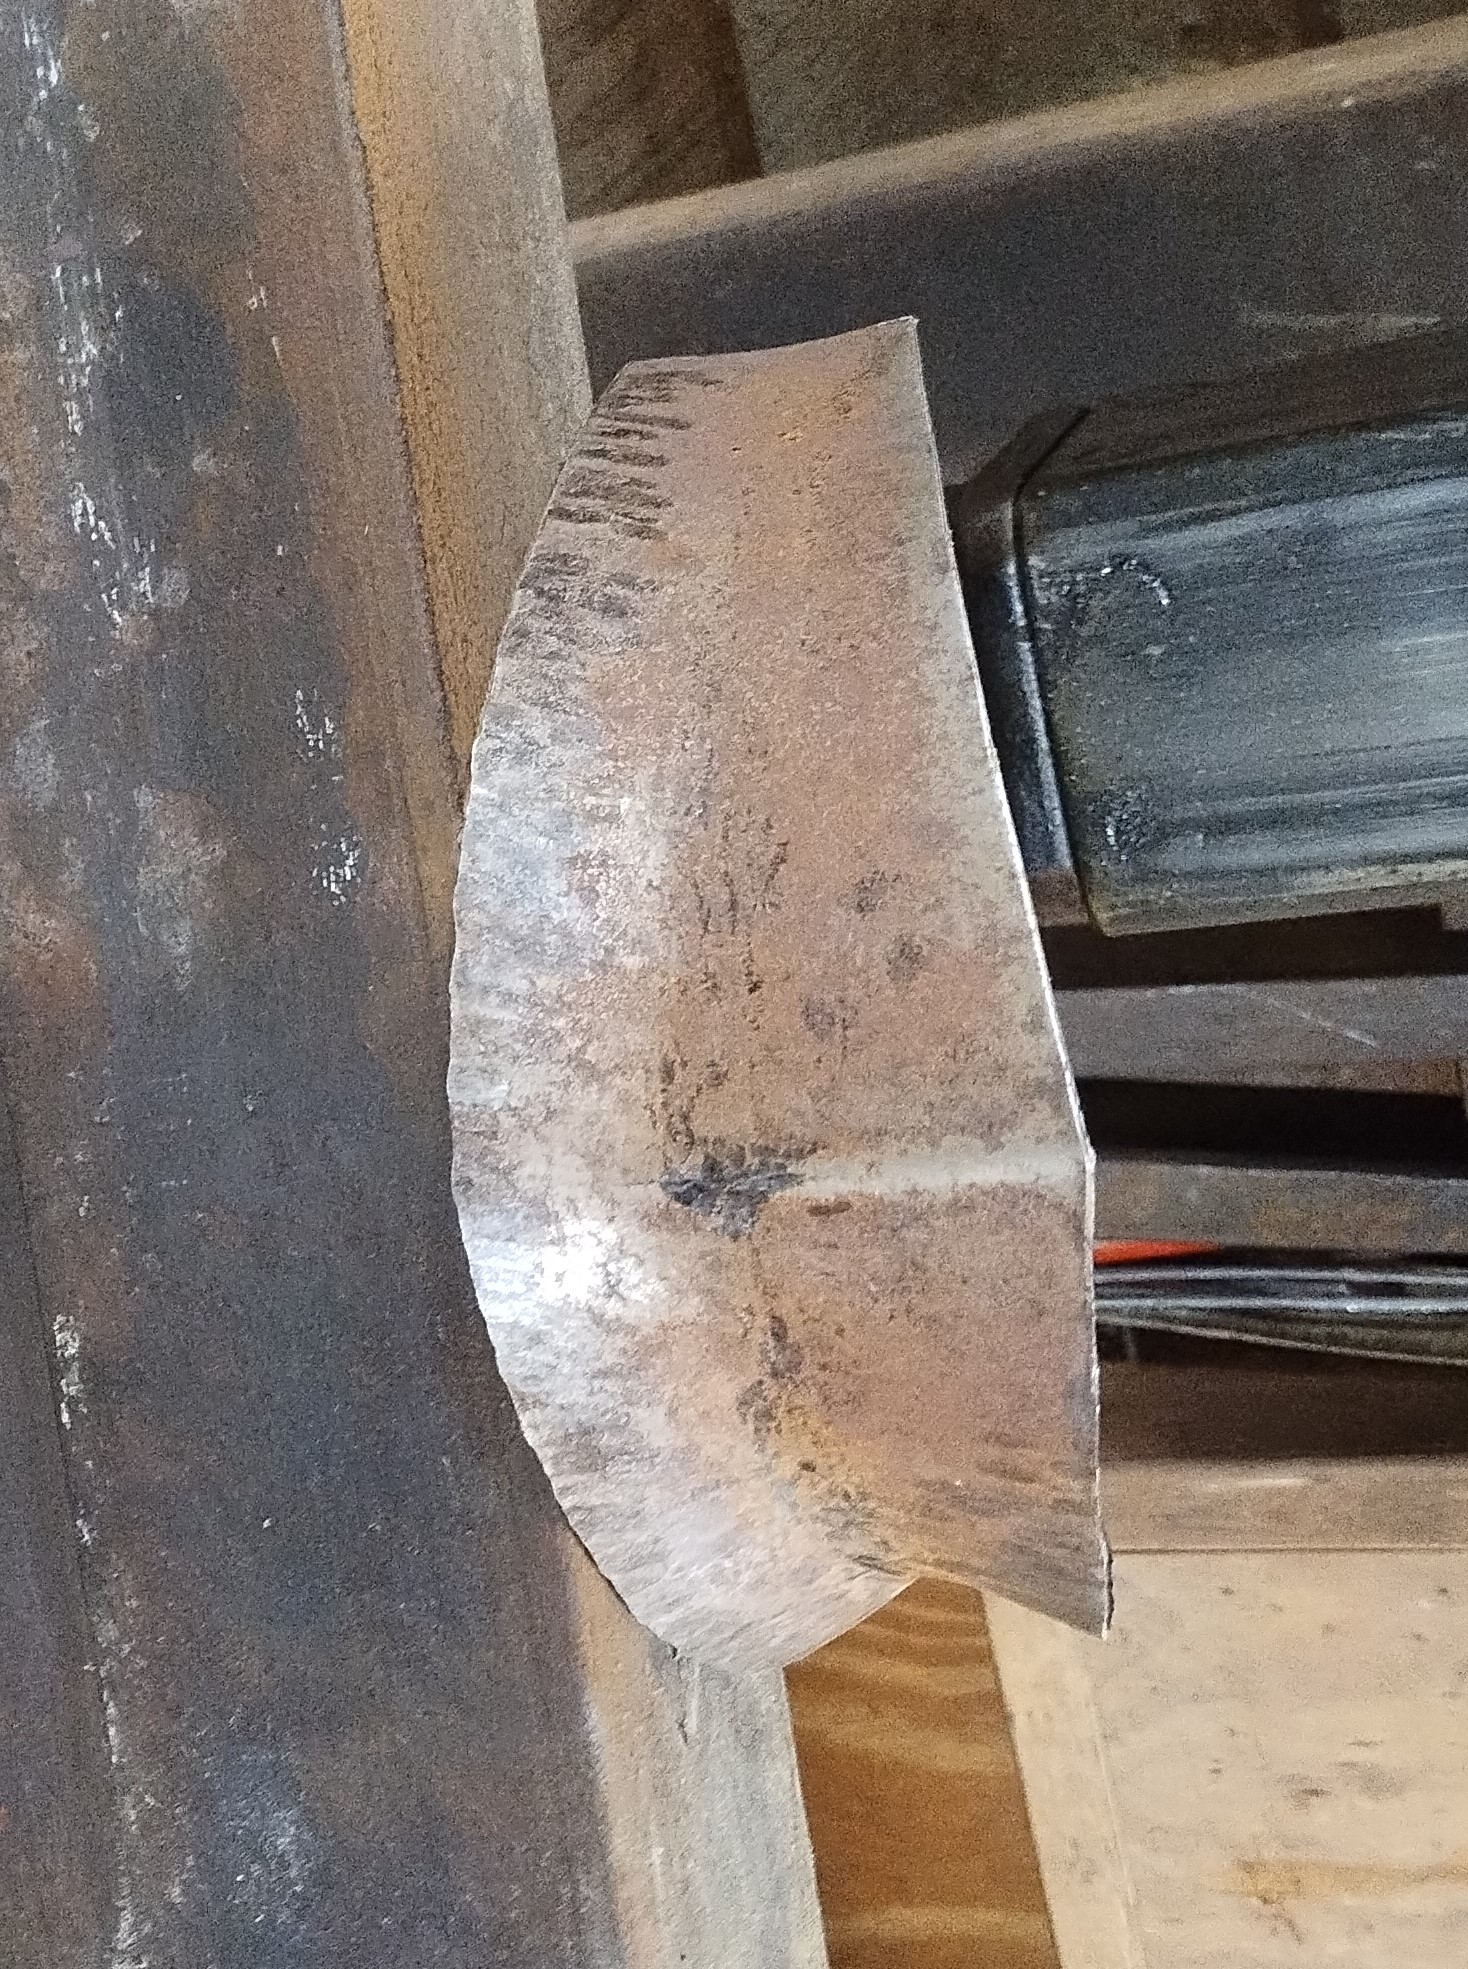

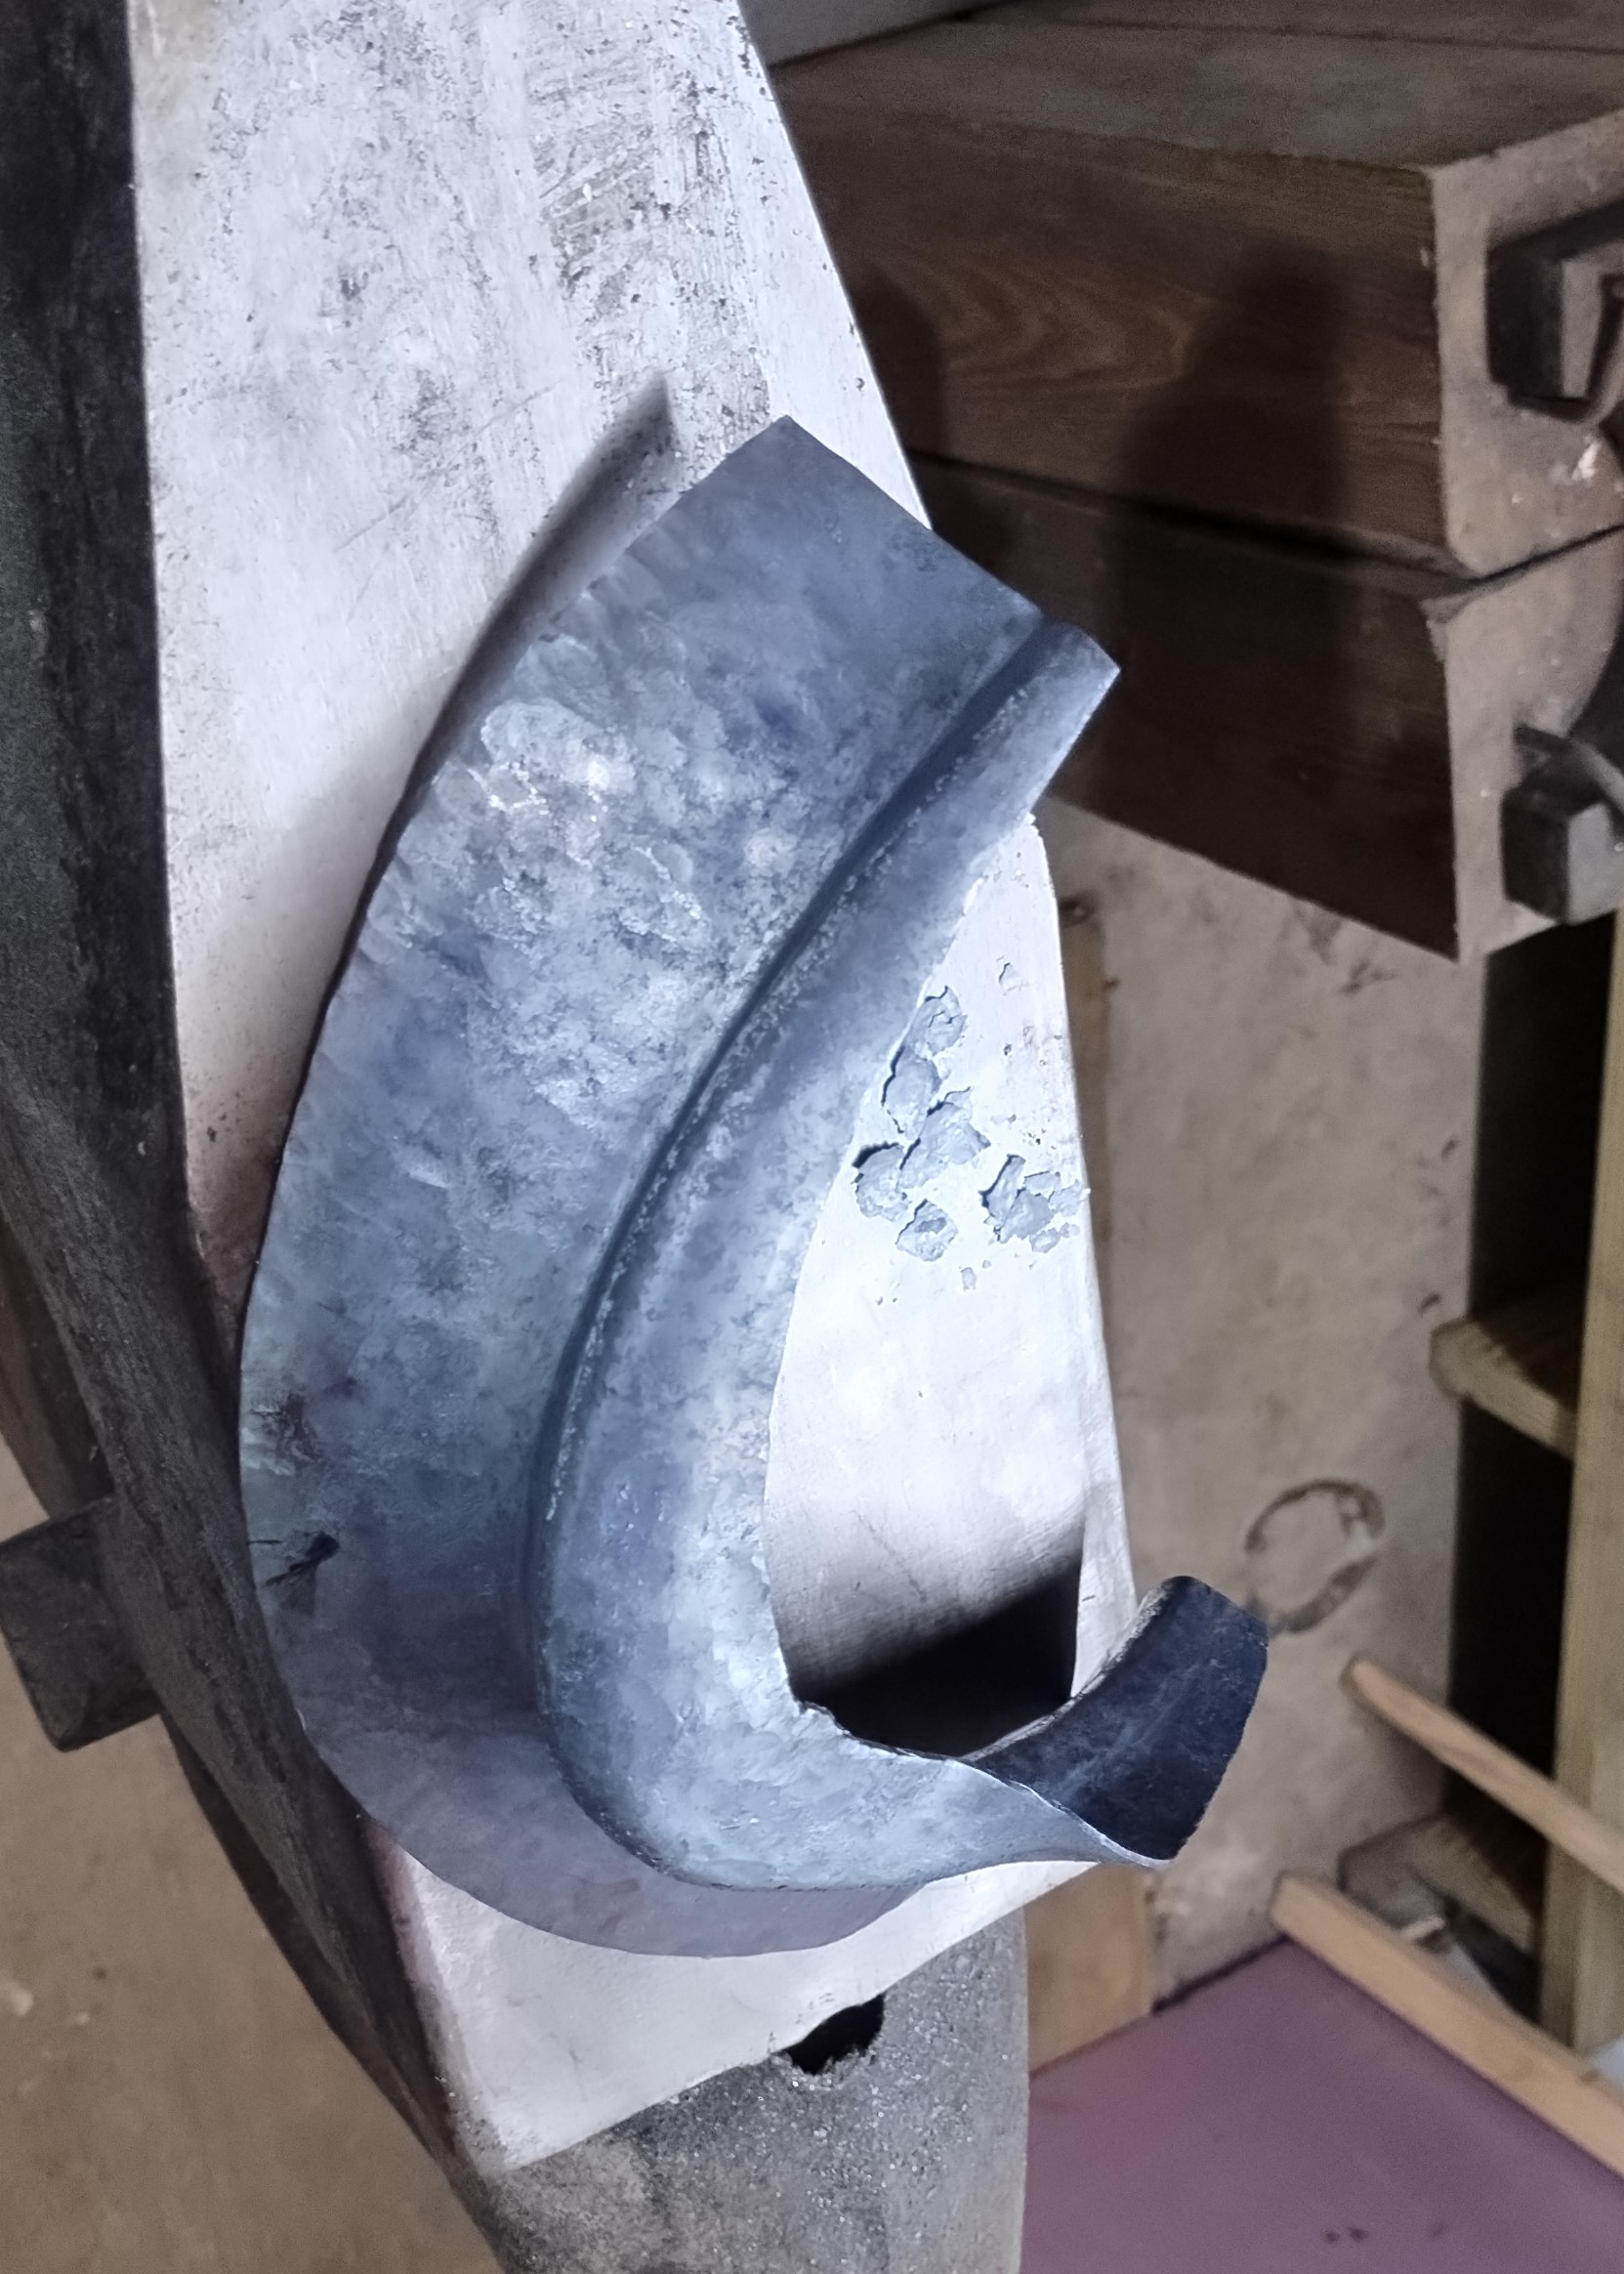
The second was done hot, and I took it farther through the process - but I left part of the roll open to illustrate thickness. There is no way I would do this if I were planning to finish the piece. It is always best to move the roll in stages, evenly along the entire length. This gusset has a much wider area that would sit under the body of the breastplate. That's just a feature of the one I was copying. It also means that heat was more important.
I do this infrequently - about every 5 years. That means that I forget the lessons learned. In both of these cases I flared the "body" side farther than I needed to. You can see that the roll side needed very little flare. If I had flared the body less, and flared the roll more the result would have been more even in thickness and it would have allowed me to flare the base of the roll and leave the part that will be closed less flared - partially closing the roll before any hammering was necessary.
A lot of people make these - their form makes them very practical for modern combat. I think that most people place a weld down the wrist line, at least when making them for production. The more "authentically minded" raise the form - pushing the wrist in. A long time ago Aaron and I made a sample by flaring the cuff and metacarpal. This was fun, but there were some issues. First, we did it small scale. This let us get away with things that just don't scale up. Second, the wrist ended up app. the initial thickness of the material and the thickness tapered down a lot toward the edge of the cuff and the knuckles.
Before another Forging, I played with bashing out the rough form of an hourglass gauntlet using heat and my power hammer. Starting from 1/8" I first drew out the wrist area lengthwise. This was really just to thin the material. So the "initial" blank was thin in the middle and thick bands on each side. Next I whacked away with the cross pien in the thick areas to draw them out sideways. The thing looked like a mess, but a few whacks and it curled up into a gauntlet shape. It's been a long time, but I think that it took about 20 minutes.

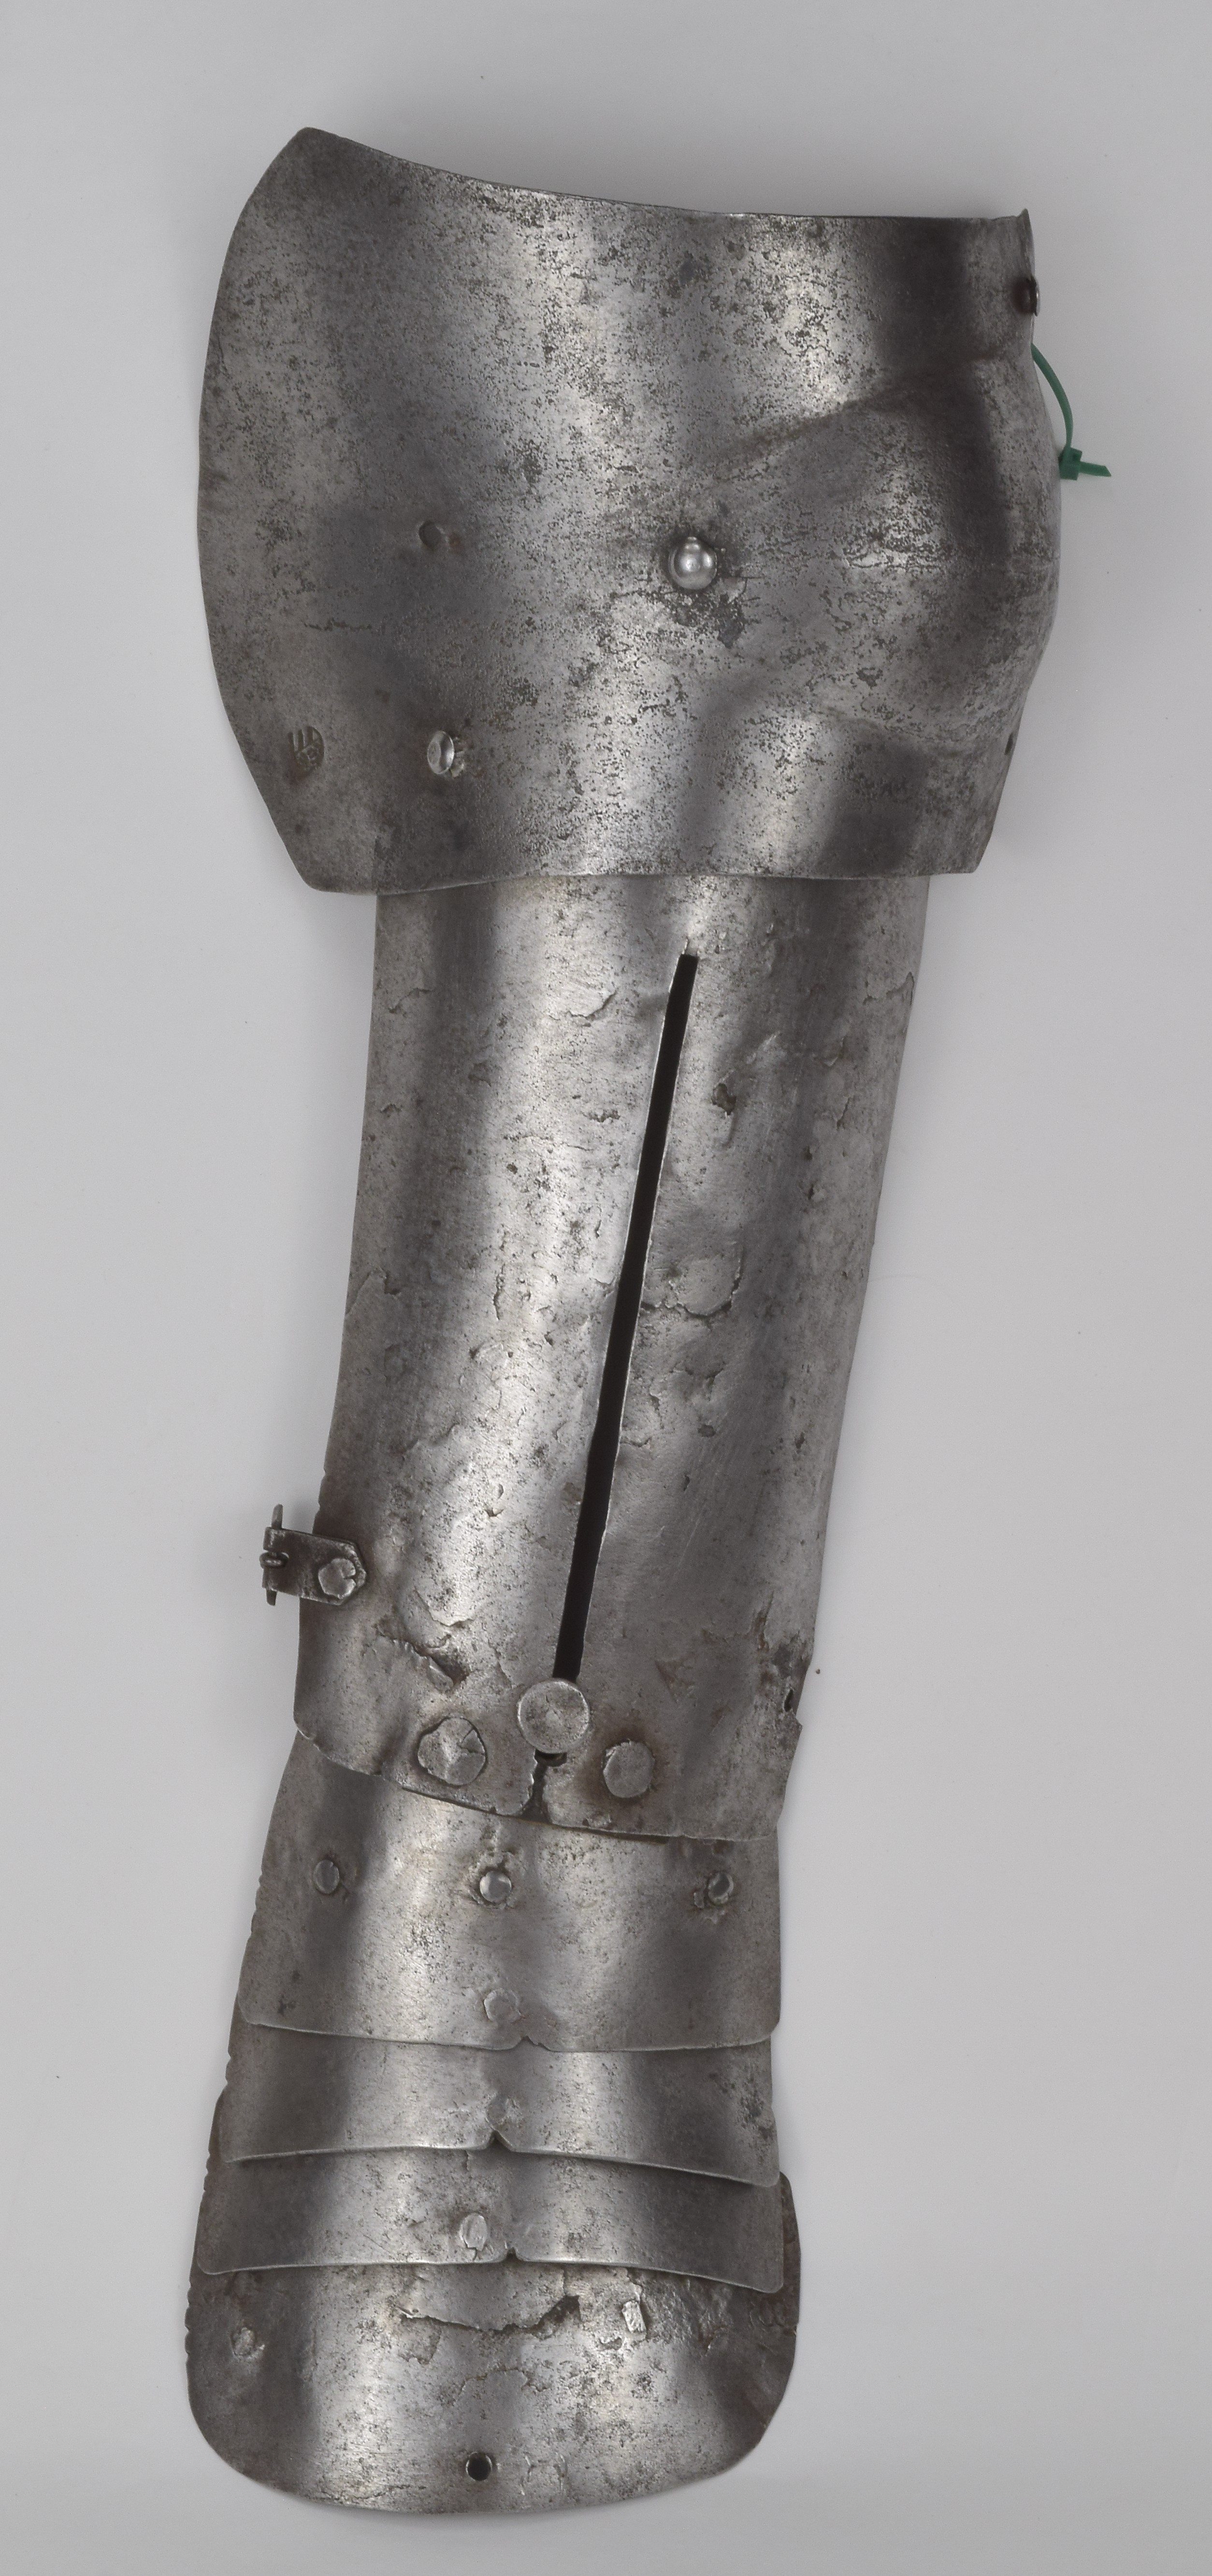
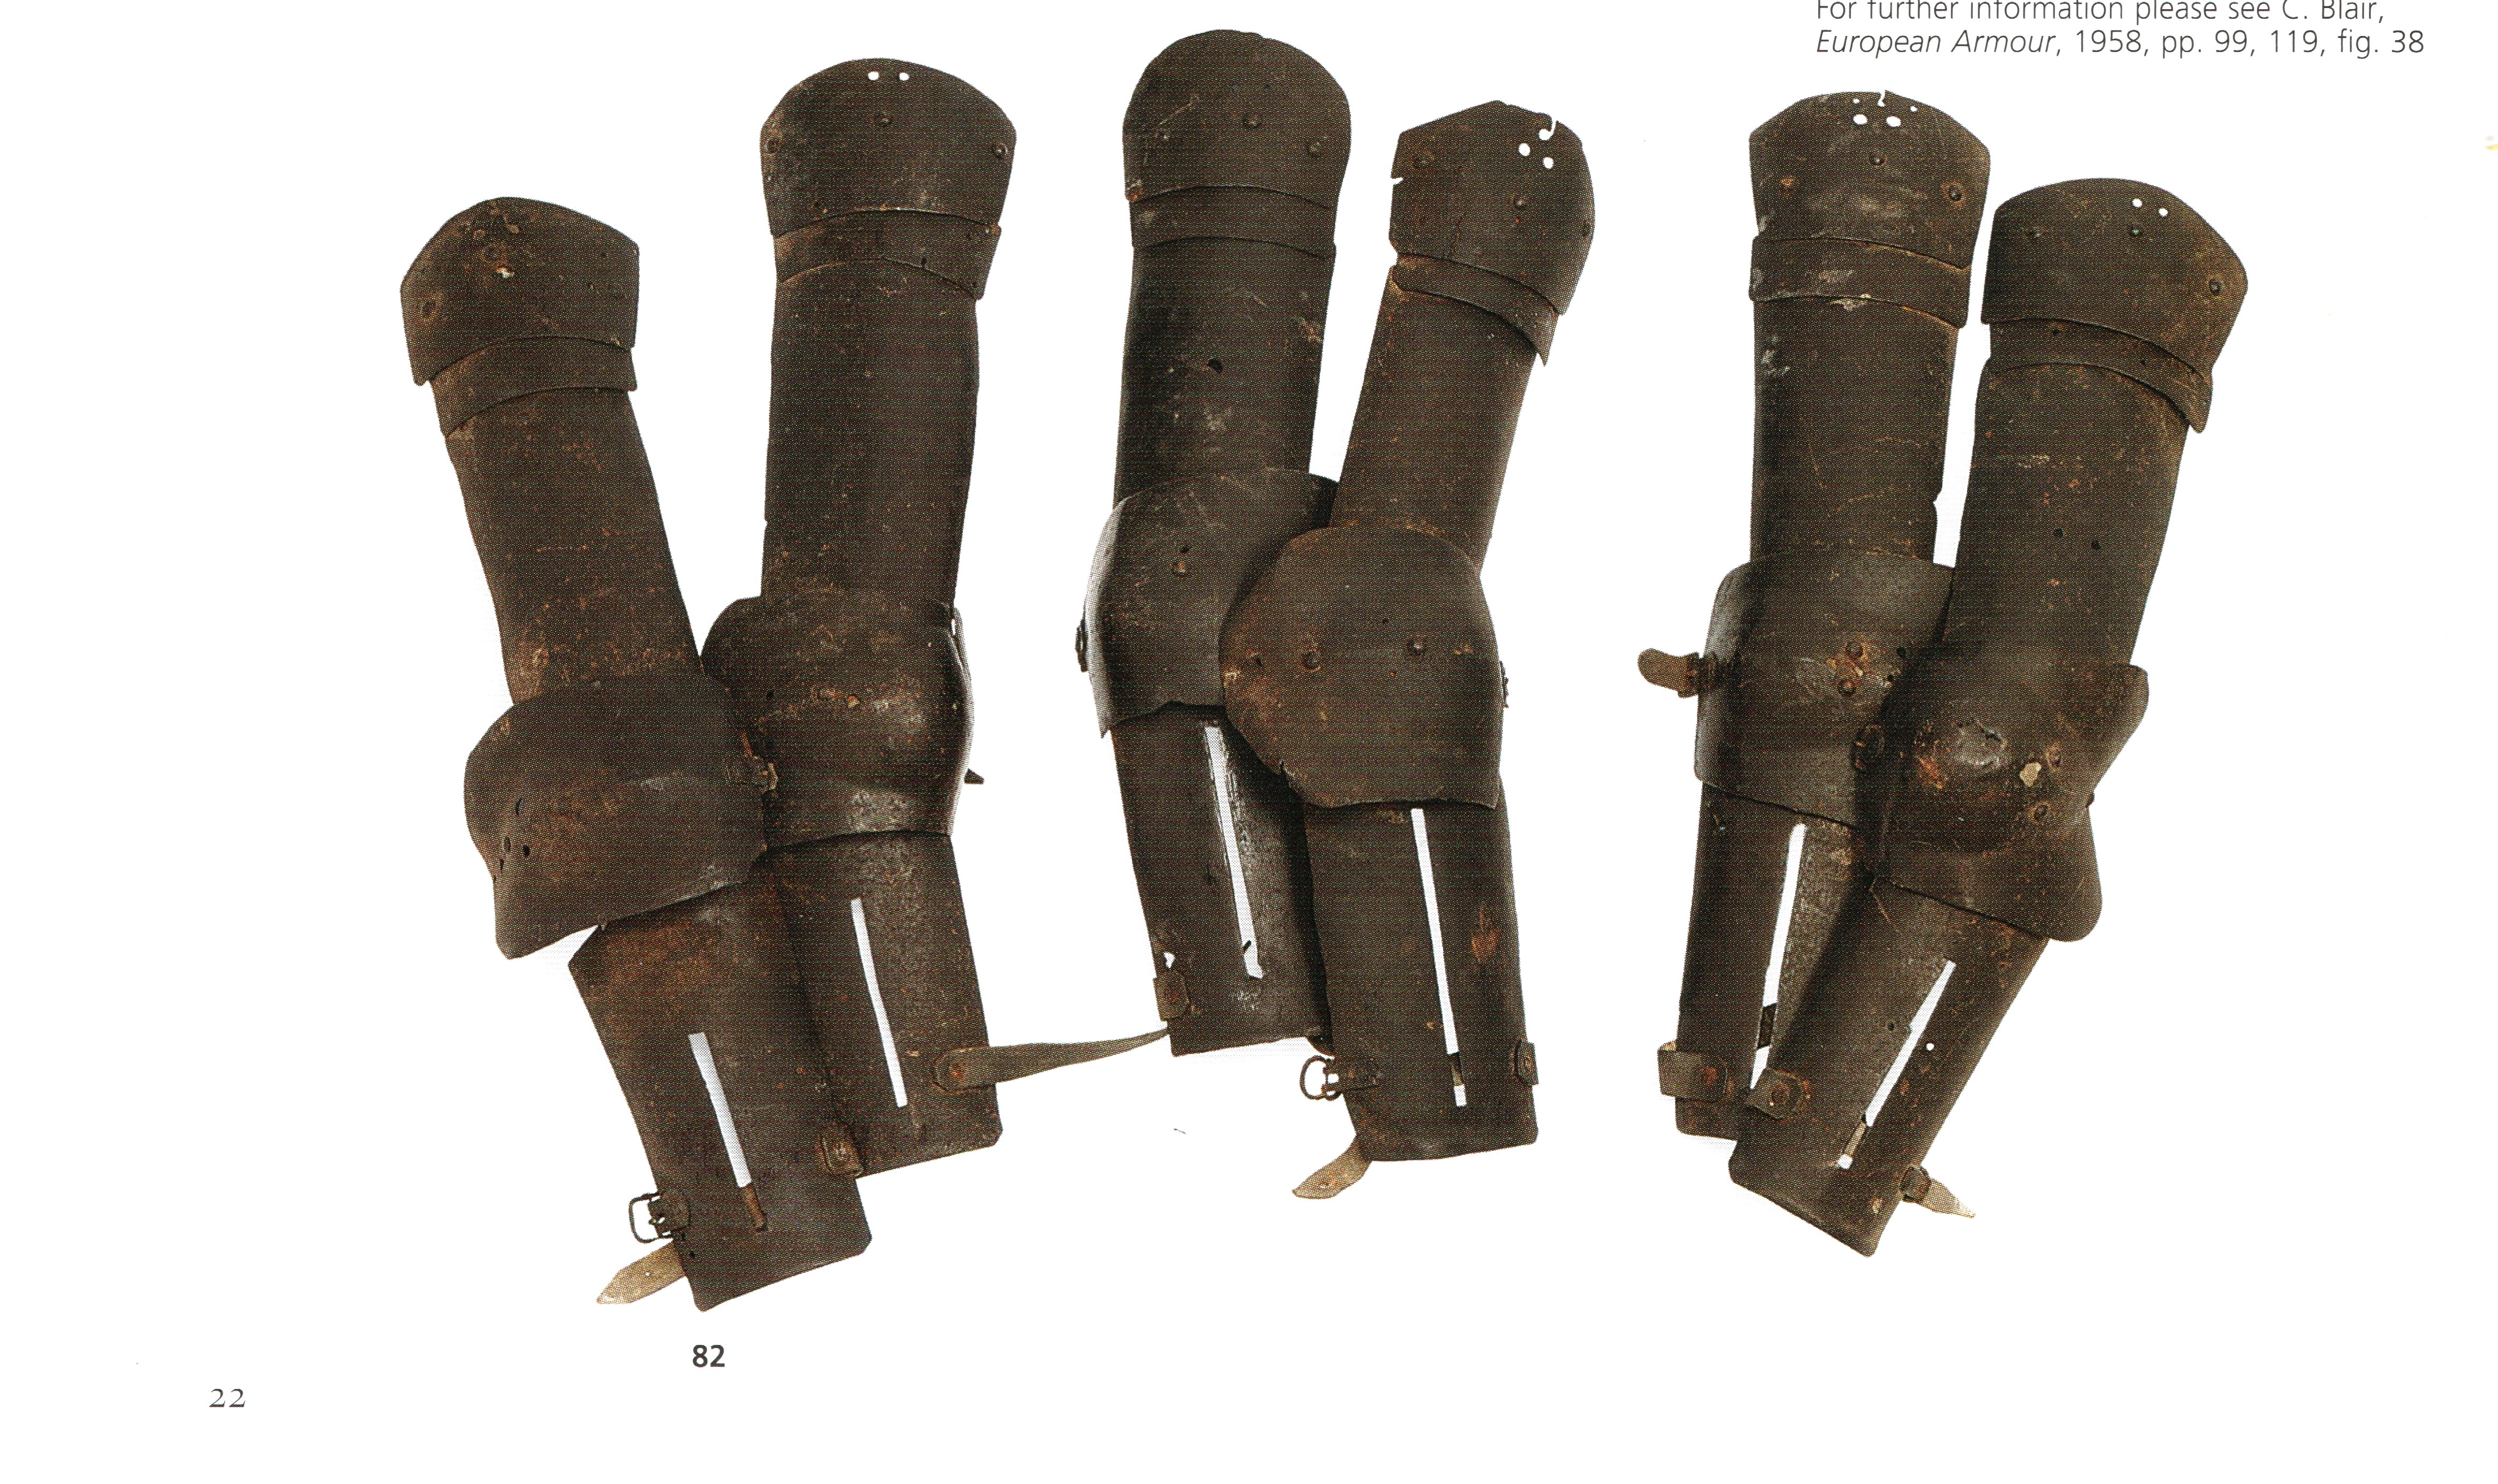
Here are some examples of really cheap early 16th c. arms. These were made and sold by the thousand and needed to be efficient in both time and materials.
I think it is pretty easy to see that most of the parts for a pair of early 16th c. "splint" arms are basically rectangles of different shapes with some corners cut off. I extended the idea somewhat and used rectangles for the elbows too. By drawing the "wing" portion out vertically I formed both the "pucker" and some additional height in the "wing" and at the same time thinned the material. This meant that I had enough thickness in the "cop" area to just sink it out fast without ending up with a center that was too thin.
When you approach larger pieces, initial thickness becomes really important. You are moving a lot more metal a lot farther. Most modern armourers will form the initial volume of a breastplate by "dishing" or "raising." The old fashioned, straightforward 1980's (and often starting armourer) methods for dishing a breastplate end up with a piece where the edges are approximately the same thickness as the initial piece of sheet metal and the center is a lot thinner. So you generally have to start with a pretty thick piece of metal to achieve a semi-reasonable center thickness. Since almost anyone who raises a breastplate has heat, raising allows you to achieve a relatively even thickness across the entire area of the piece. If you are skilled and careful, this can be approximately the same as the initial sheet metal thickness. Either of these processes can be sped up and/or made more consistent by adding a couple of darts and welds to achieve the majority (or all) of the volume.
Most (we can talk about the exceptions at length) 15th and 16th c. breastplates I have handled are thicker in the middle than they are on the sides and at the top corners. When people are trying to kill you with lances, arrows and all kinds of nasty implements, it makes sense to put material and weight where you need it most. Given that, here is a little experiment I did showing one way to achieve this result in a straightforward way:
Patrick Thaden and I got together (virtually) and recorded a discussion about 17th c. bucket making and how the techniques could apply. It takes this "metal movement" to a whole other level. You can see the video here:
Mass production of armor?.