Allen Antiques
These are some initial images of a preliminary experiment into making a breastplate using a power hammer, drawing out, and dishing only.
In this simple case I used 1/8" sheet as the starting material. I expect this is really to thin to produce a nice breastplate, but it could be sufficient to make a cheap infantry piece.
I also did all of the illustrated work cold. I definitely do not think this is the way it should be done, but I didn't have a good heat source to produce a large heat, which
would be best to do this quickly and as a production system.
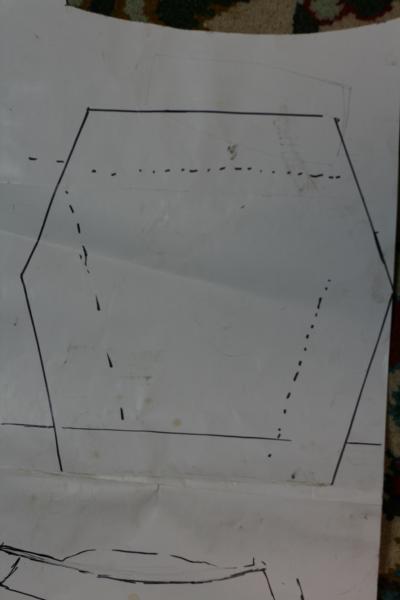 |
| The initial shape was an uneven hexagon. I am sure it could be done from a square, or some other more blobby shape, but the hexagon allowed for pretty straightforward drawing out of the material with minimal trimming. The starting piece was 1/8" cold rolled mild steel. I used it because I had it, and because I could just cut it with my straight shear.
I cut at the solid line at the bottom, the side lines go farther down than they should.
The bottom is relatively narrow, I was patterning this after a munition piece in my collection which does not wrap around quite as much as some do.
The dashed lines were the first guess at where I would start the thinning using a cross pien, but I adapted it some along the way.
The sides were roughly done as indicated.
The top was not done quite this way. I ended up drawing the corners out from roughly the end of the draw out part from the sides and into the center.
I drew the sides out "down" to create the lower corners that people would normally cut into the pattern.
I mainly drew the top corners out diagonally. after the sides were drawn out, the was a thick blob at the bottom center.
I drew it down and out to start the waist flair. Due to how I did it, I got some of the cut out at the sides of the waist that is typical of many early 16th c. breastplates.
|
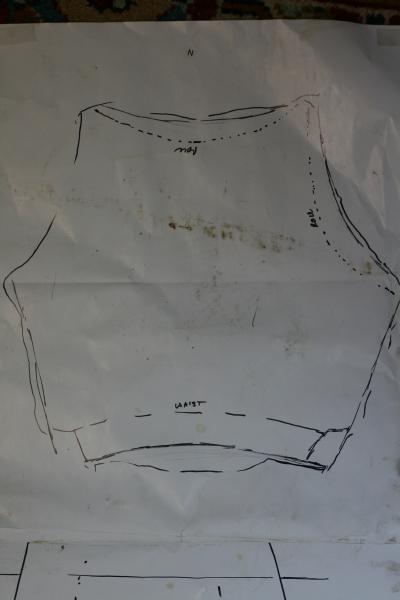 |
| After drawing out the initial shape to intentionally thin the material where the extra thickness is not needed.
I did not worry about trying to keep the shape even around the sides. I knew things would be trimmed later.
The arm hole areas did end up with a pretty reasonable shape just from the method used to draw the side and top corners out. |
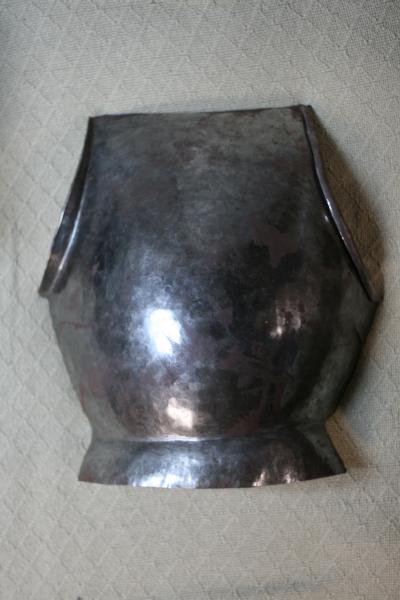 |
| After the initial shape was drawn out, I dished starting from the sides, then from the top and a little bit from the bottom at the waist line.
I was trying to preserve the central thickness through as much of the process as possible.
The bottom flair was cross piened, there was plenty of thickness to work with. The rolls were banged out cold.
Conveniently the thickness pre-roll was thicker at the center than the ends, so the part of the roll that needs to be larger and that tends to thin most because it is at the center of the curve has more material to work with.
I banged the rolls out along a line that seemed to make sense, but I will move them in a little more at the center. That will give me a more elegant roll and make the side line more vertical like it should be.
I have not started the upper roll yet. Since it will taper toward the ends, the result will be a gently curved upper edge, which mimics the original from which I was working.
|
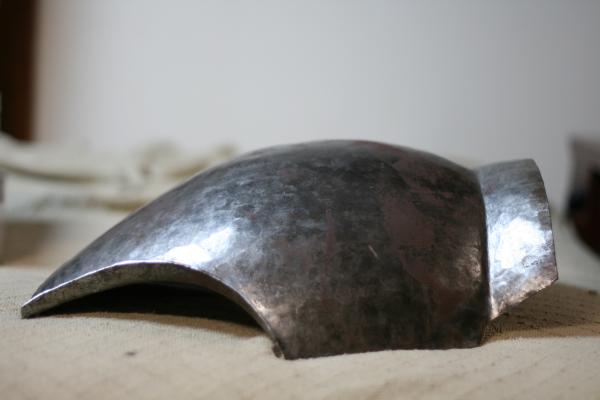 |
| The side view. Nothing special here, it does need to be finished off. The waist flair is very unfinished and there is no start to the top roll. |
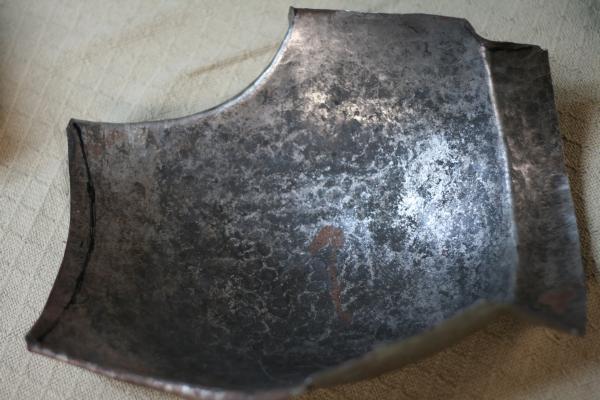 |
| The inside showing hammer marks. They are really not aggressive enough. If I had worked hot, the results would have been rougher on the inside and really more typical of the original pieces. |
Most of the work on this piece was done using a 50 pound "Clay Spencer" Tire Hammer using a flat anvil and a combination of a broad cross pien hammer and a rounded hammer.
The final thickness (at this point) is .060-.070 at the sides, .060+ at the corners of the shoulder, thickening to .090 between 2 and 3 inches in from the sides and less than 2 inches down from the upper corners. It thickens to app. .10 at over the center area of the breastplate.
This general thickness trend is typical of authentic pieces. This piece was sized for a teenager, so it is a little smaller than usual. The next experiment should probably be a little larger
and start with 3/16" to 1/4" material. This would allow for more aggressive drawing out, and keep the center thicker. It would also allow me to work hot and keep the heat long enough
to do significant work in one heat.
I would also shorten the bottom somewhat. There is to much material for a normal flair. Building a piece for use with a waist lame would shorten it significantly more.
Main-Collection
Home
If you have any questions, please send them to Wade Allen
This page last updated Fri. Aug. 29 2014


